Chapter 3: Create a book and connect with Github repository
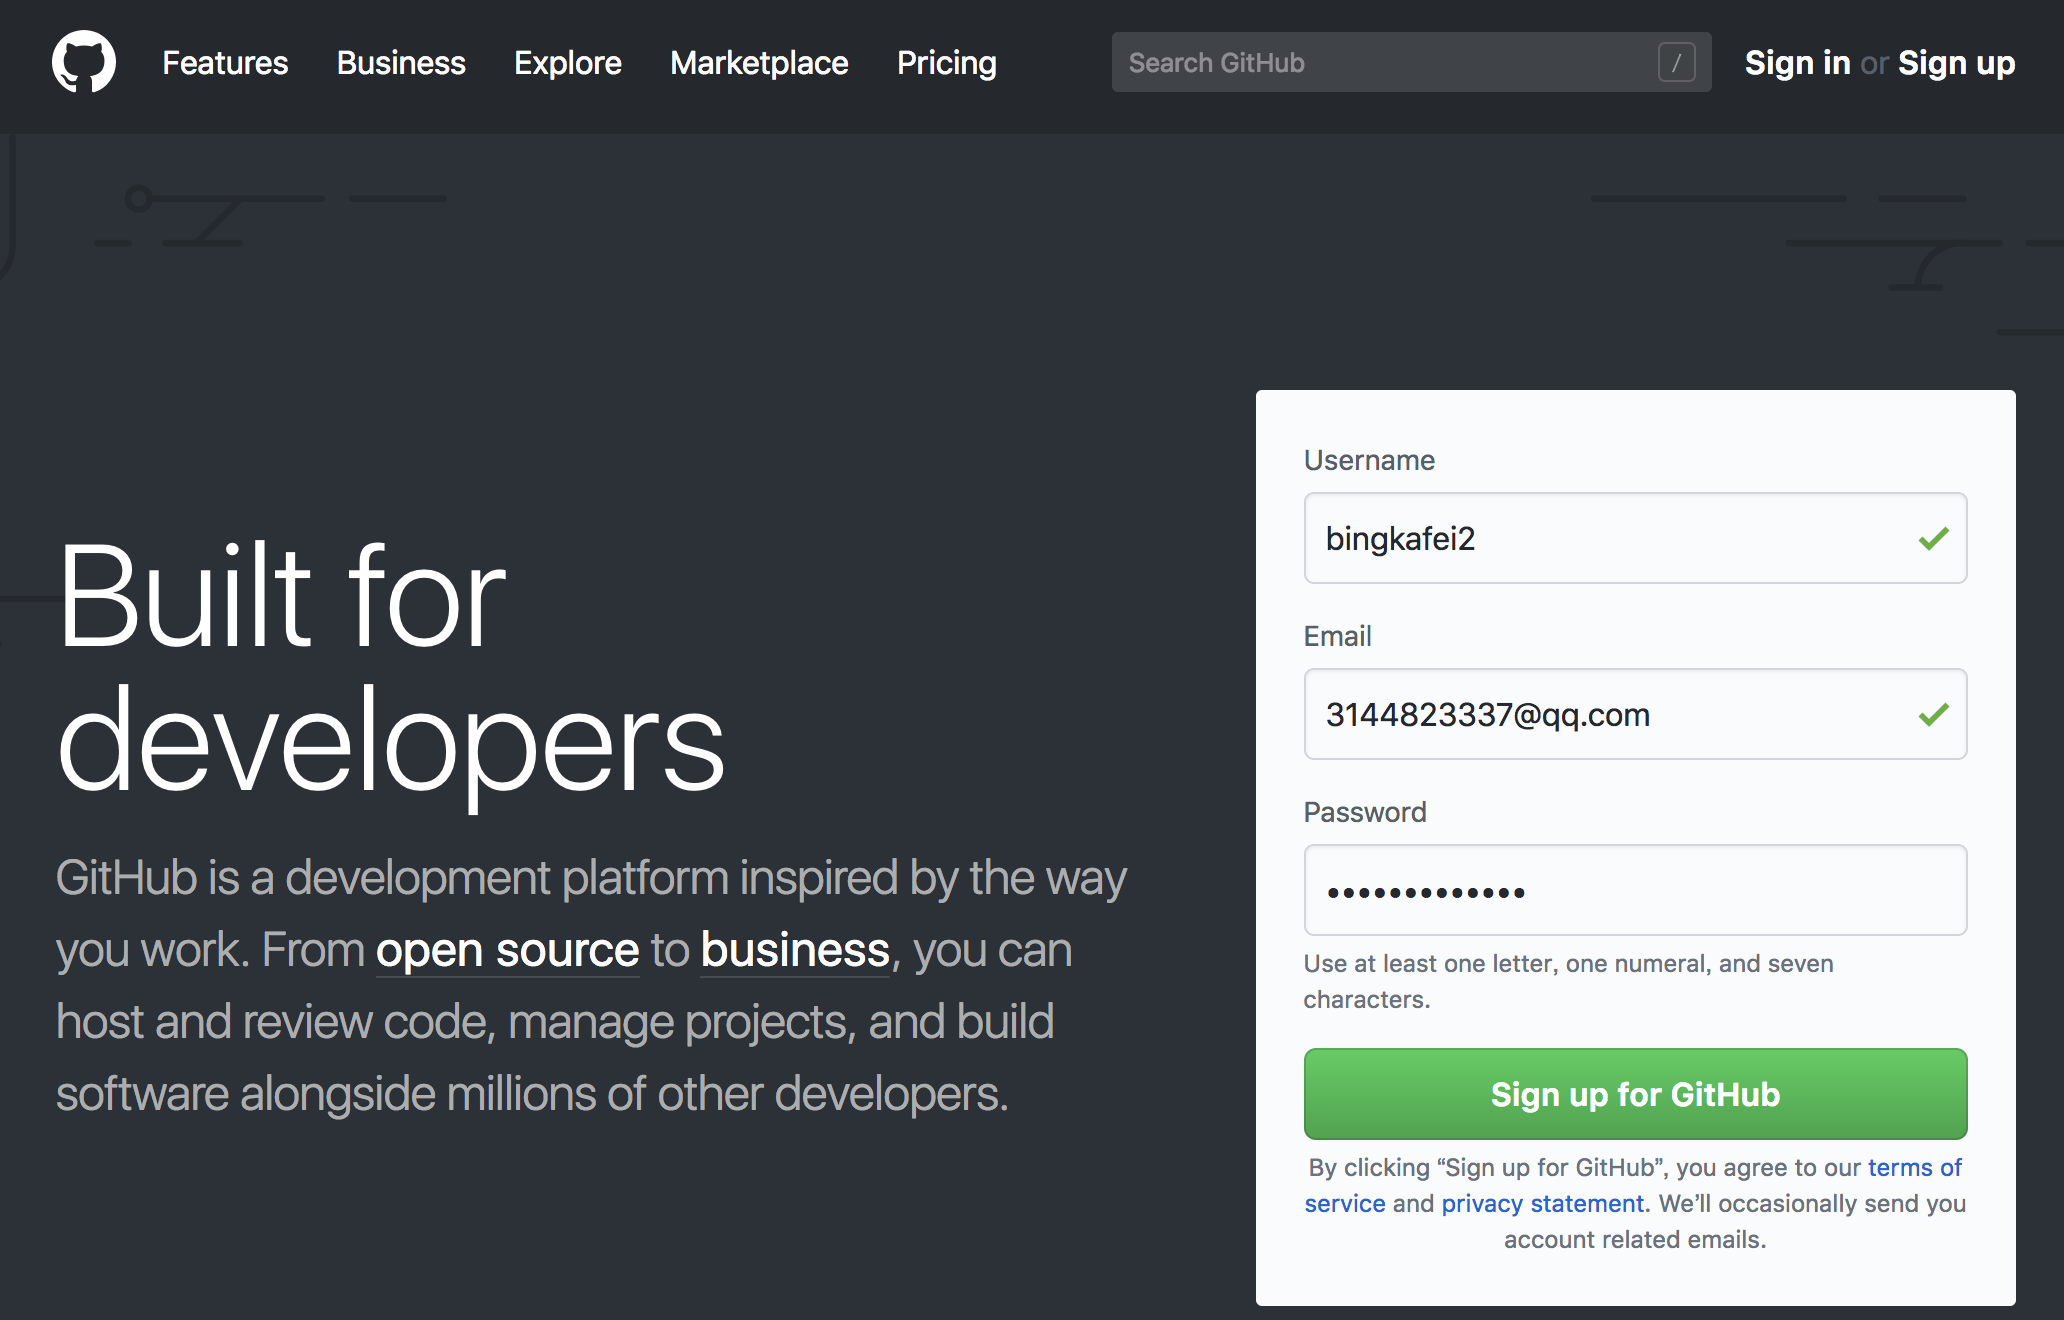
1.First, you need to open the websethttp://github.com/, sign up for a Github account,click the "sign up" button. Follow the prompts step by step registration, you need to fill in some information.
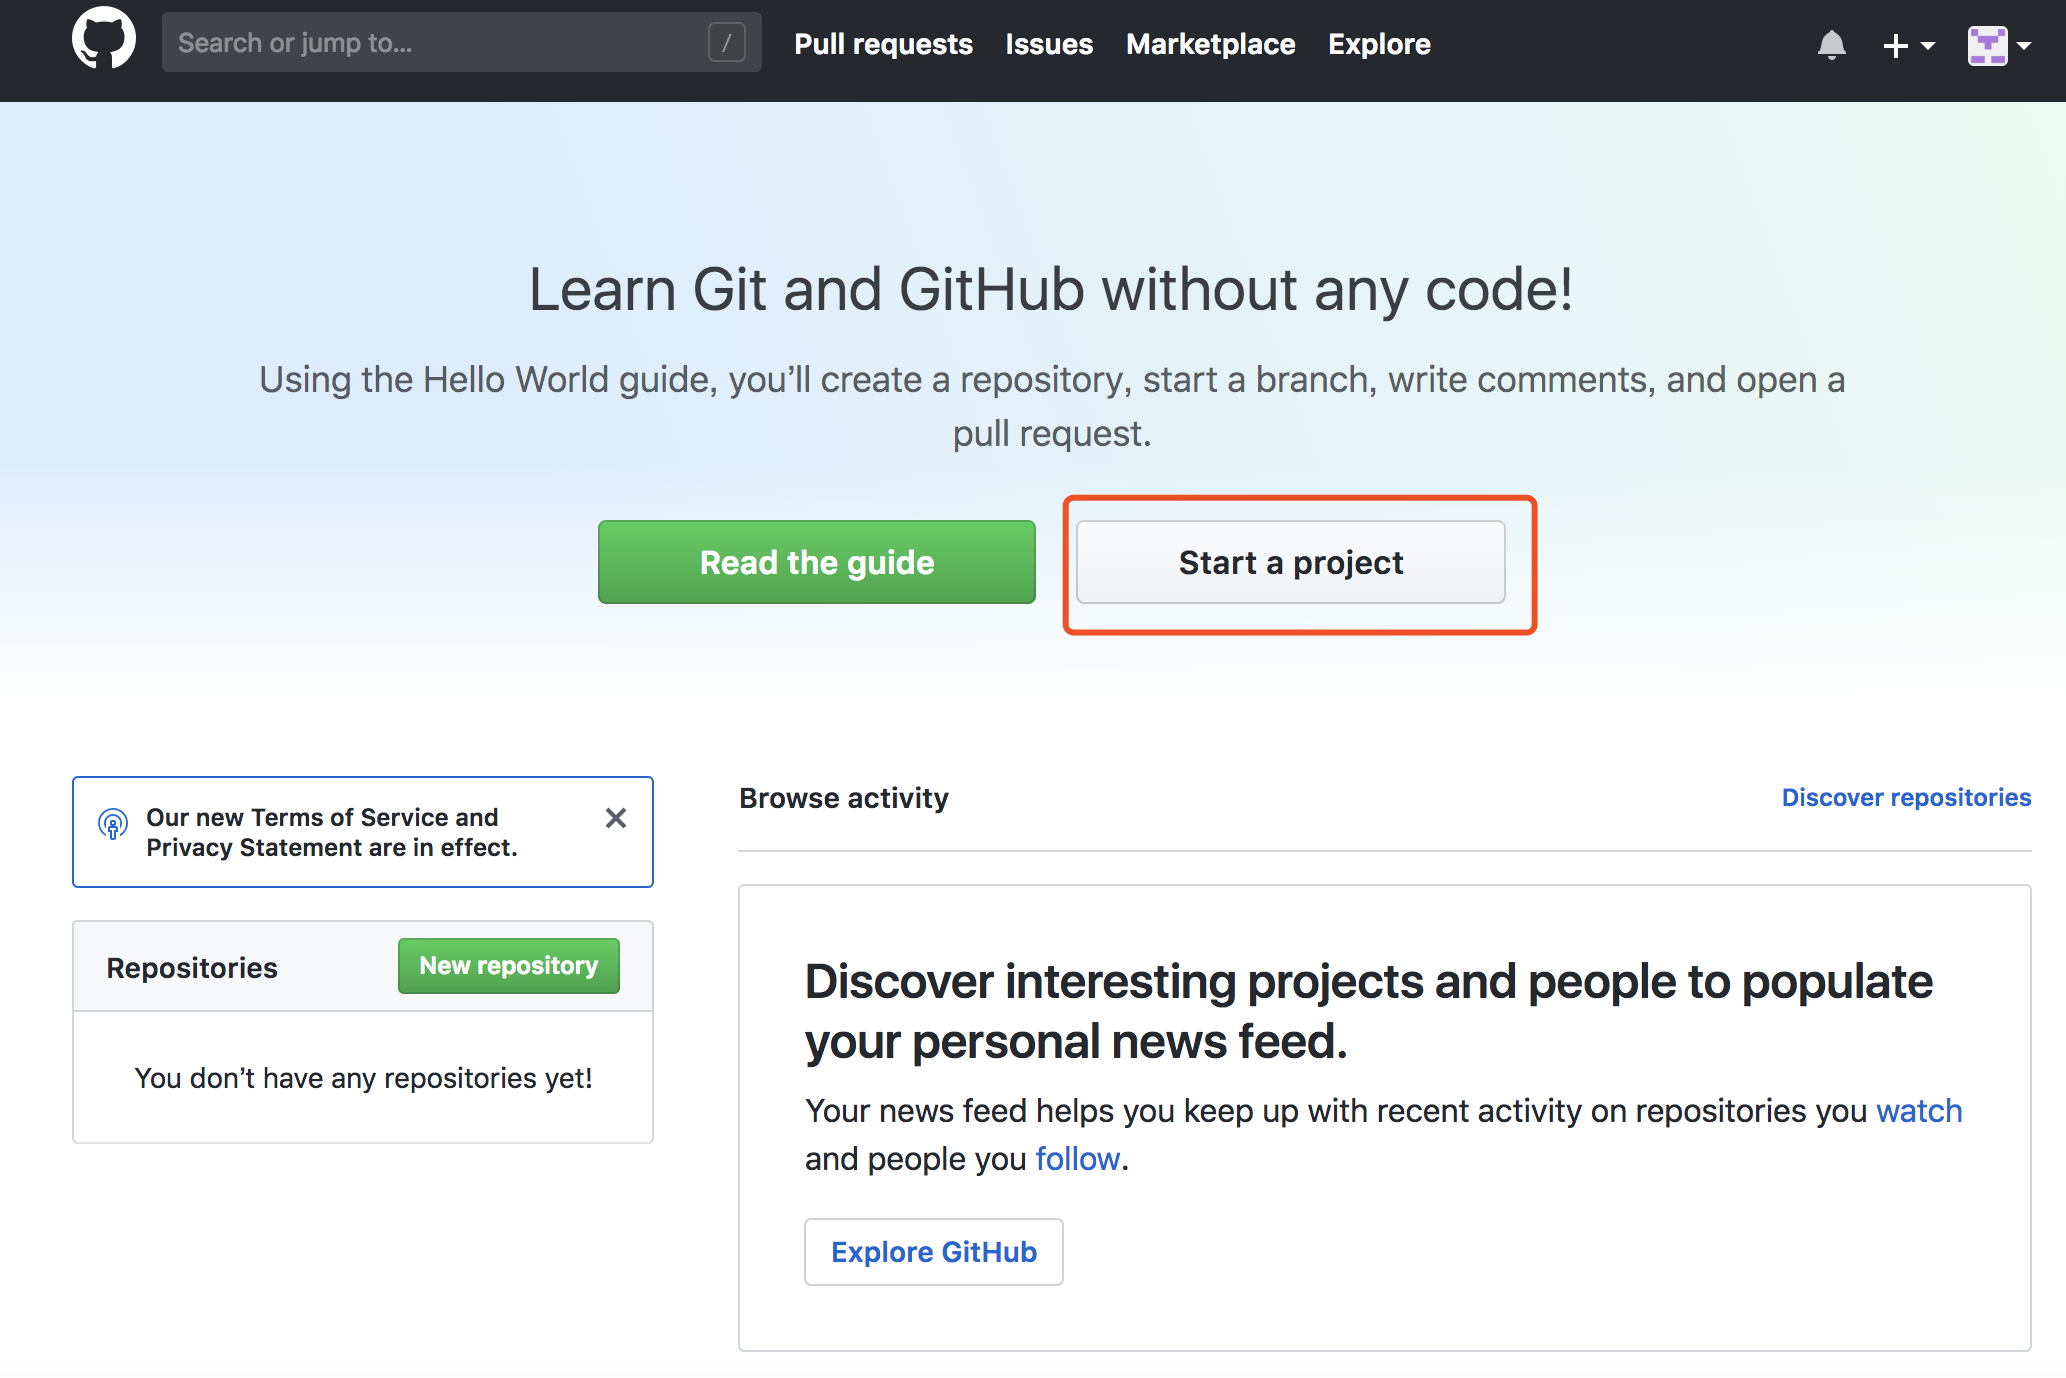
2.After registering GitHub, login the mailbox to verify, enter Github, create a project, click "start a project".
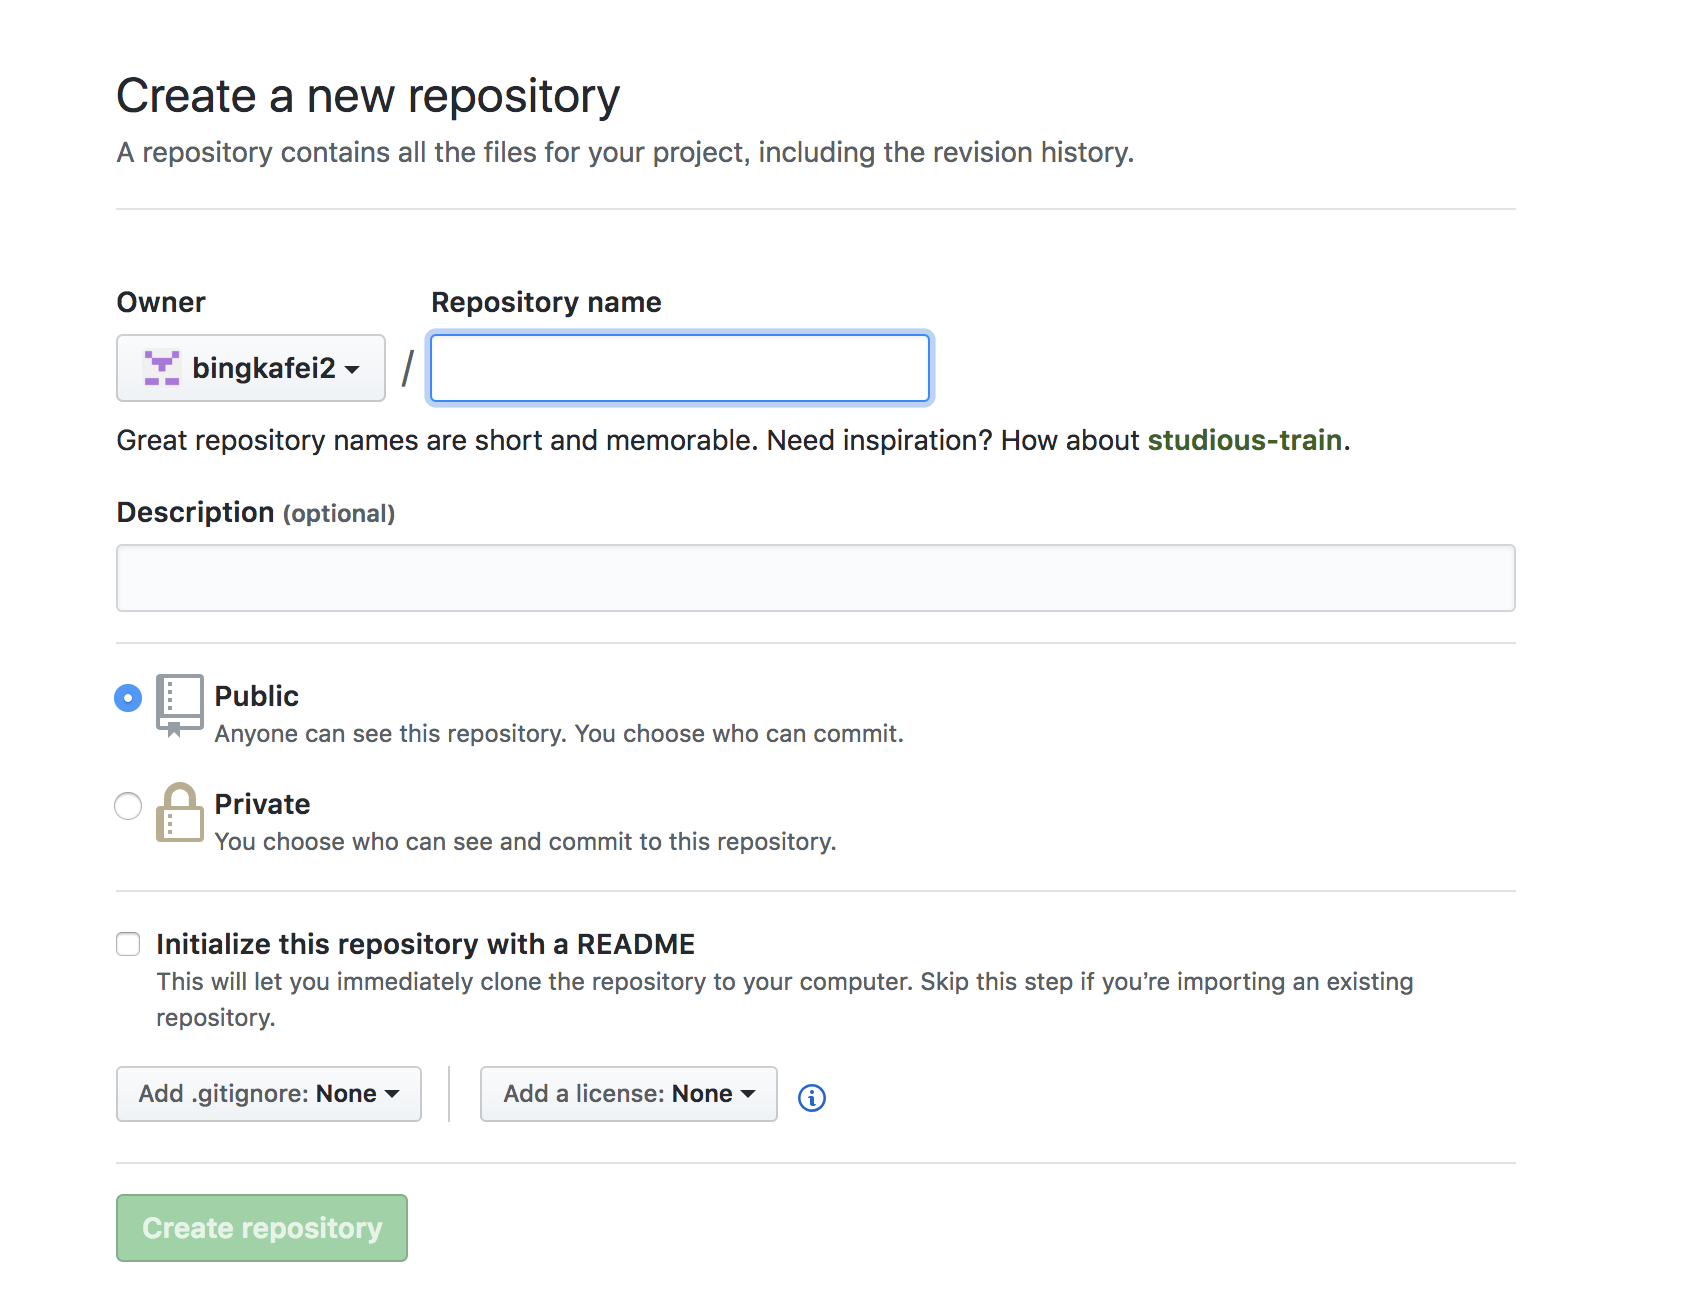
The repository of public is free of charge according to the project shown below. Let's take the test repository name as an example:
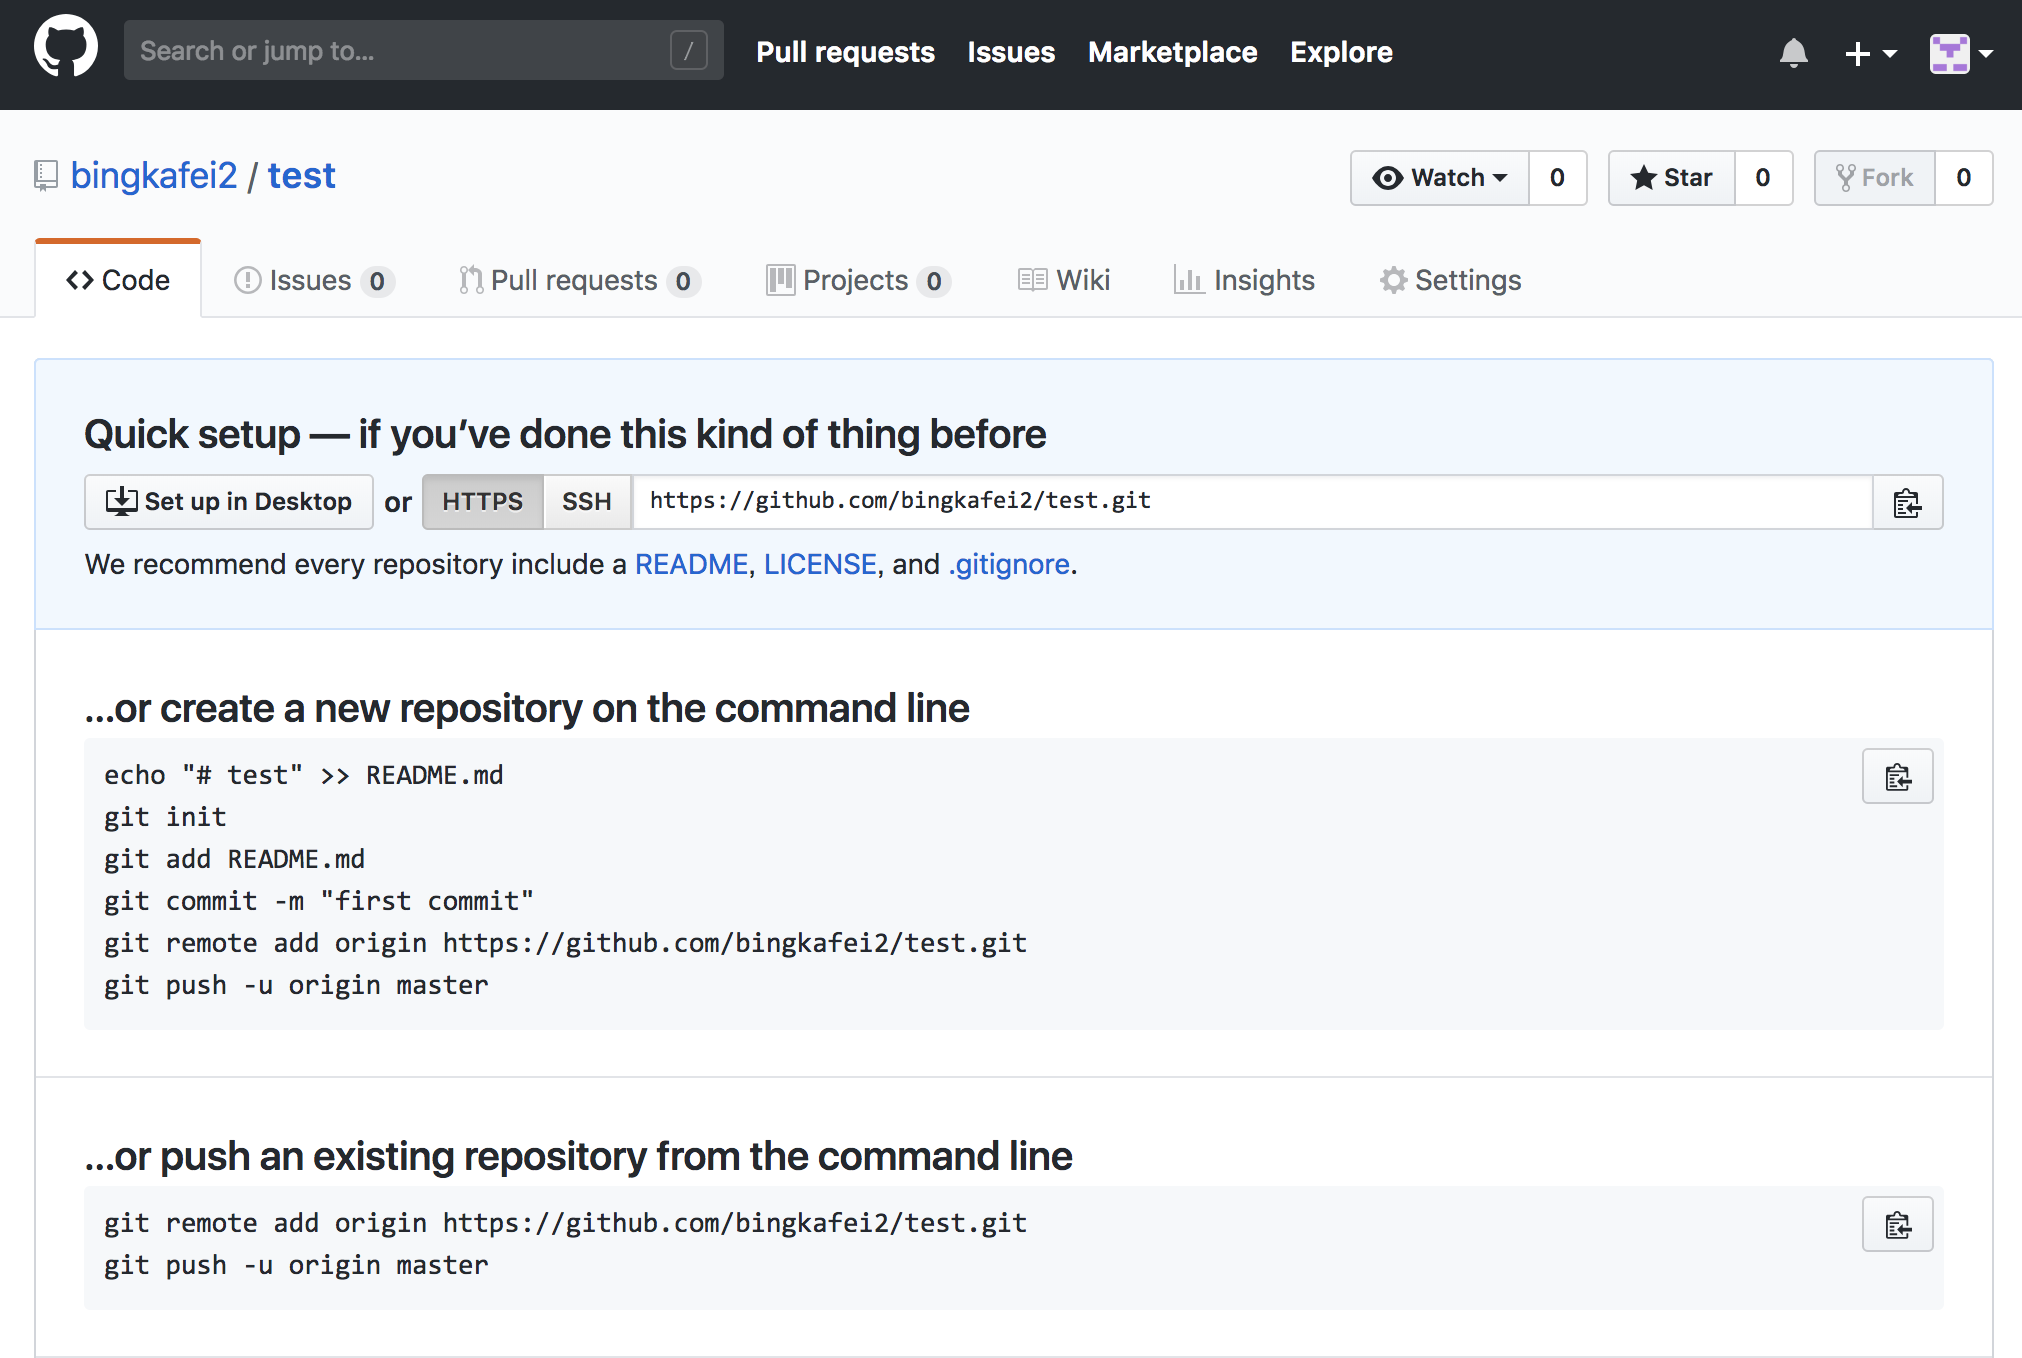
click “create repository” to create the repository,If you know Git,you can use the Git command to control the Github.
3.Take into the websitehttp://gitbook.com, as shown in the following figure, click on the top right corner for registration. It is strongly suggested that a GitBook account must be registered separately, otherwise it will be very troublesome when using the GitBook client in the back.

4.After entering GitBook, click "create a new organization" to create an organization.

The operation process is as follows:
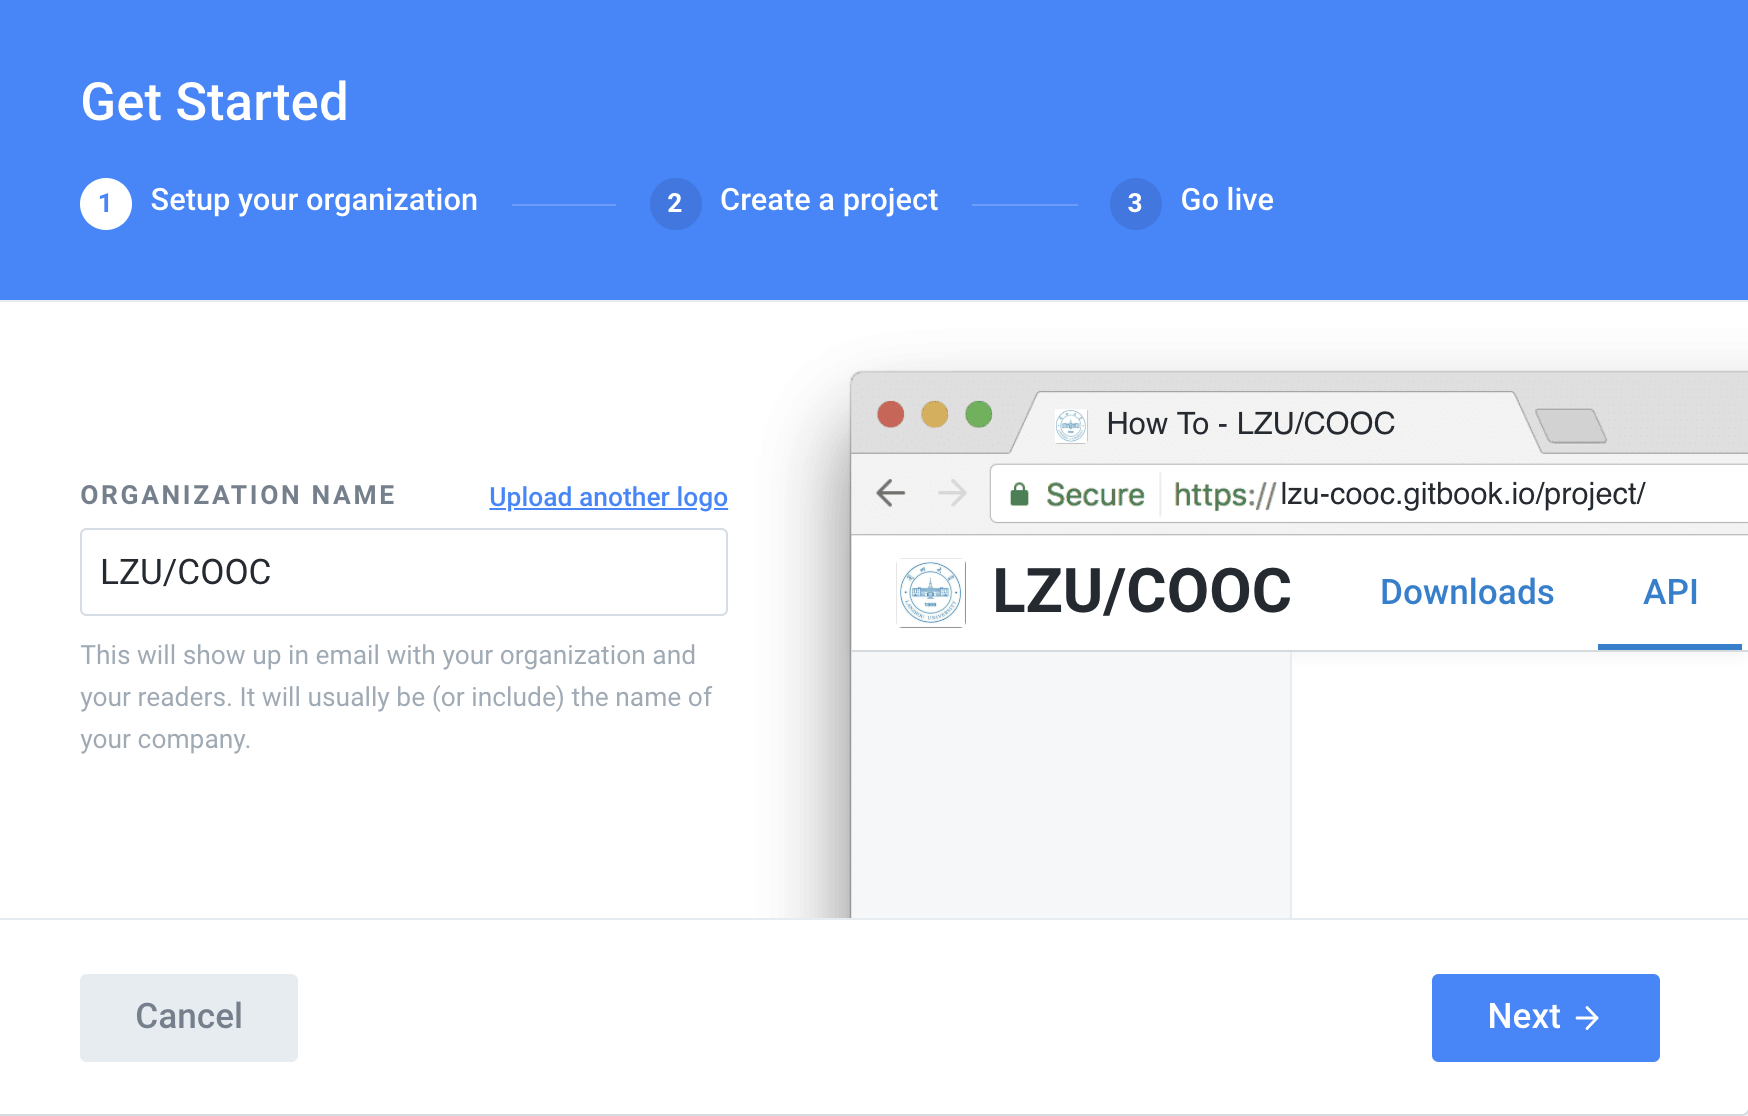
The left is the name of the organization, the right is the generated address, you can refer to the right to modify the left, the URL and name fill in the same line, otherwise it will be messy.
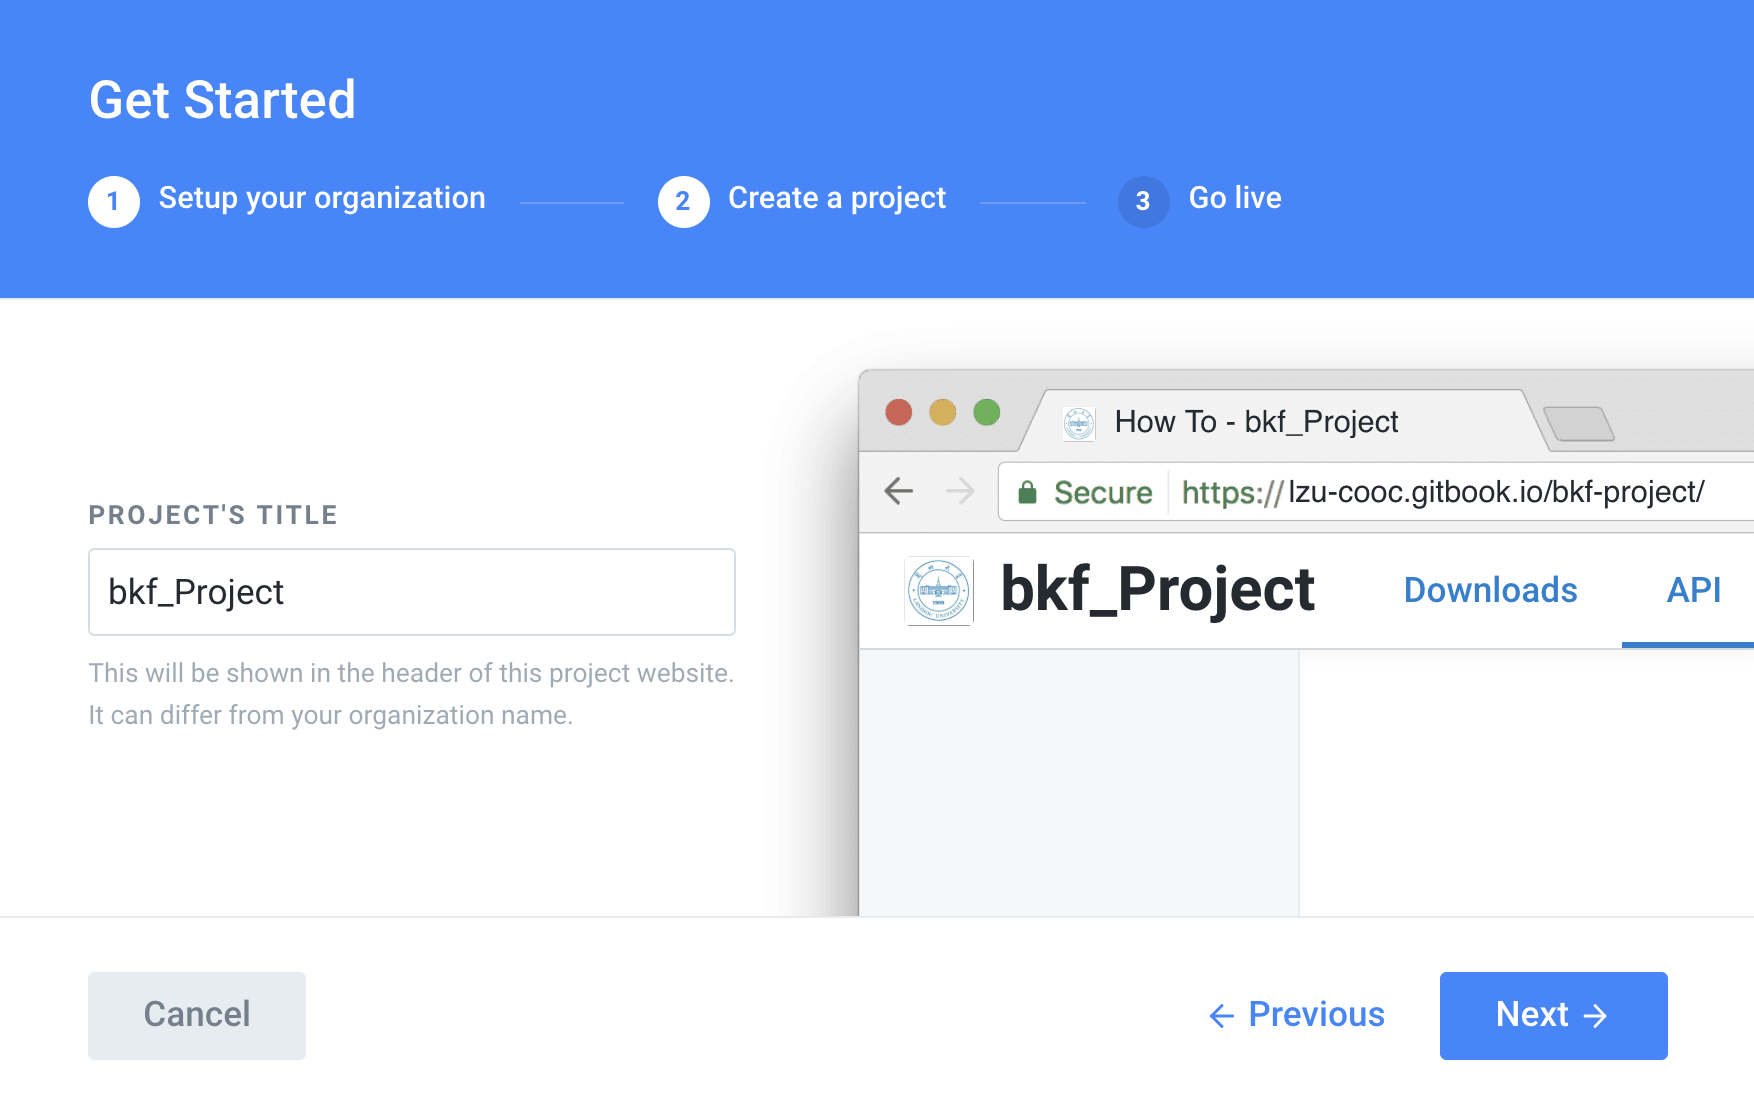
Project Title'content is the same as the name,you can give the name look at the mood.
The remaining steps are all chosen by default.
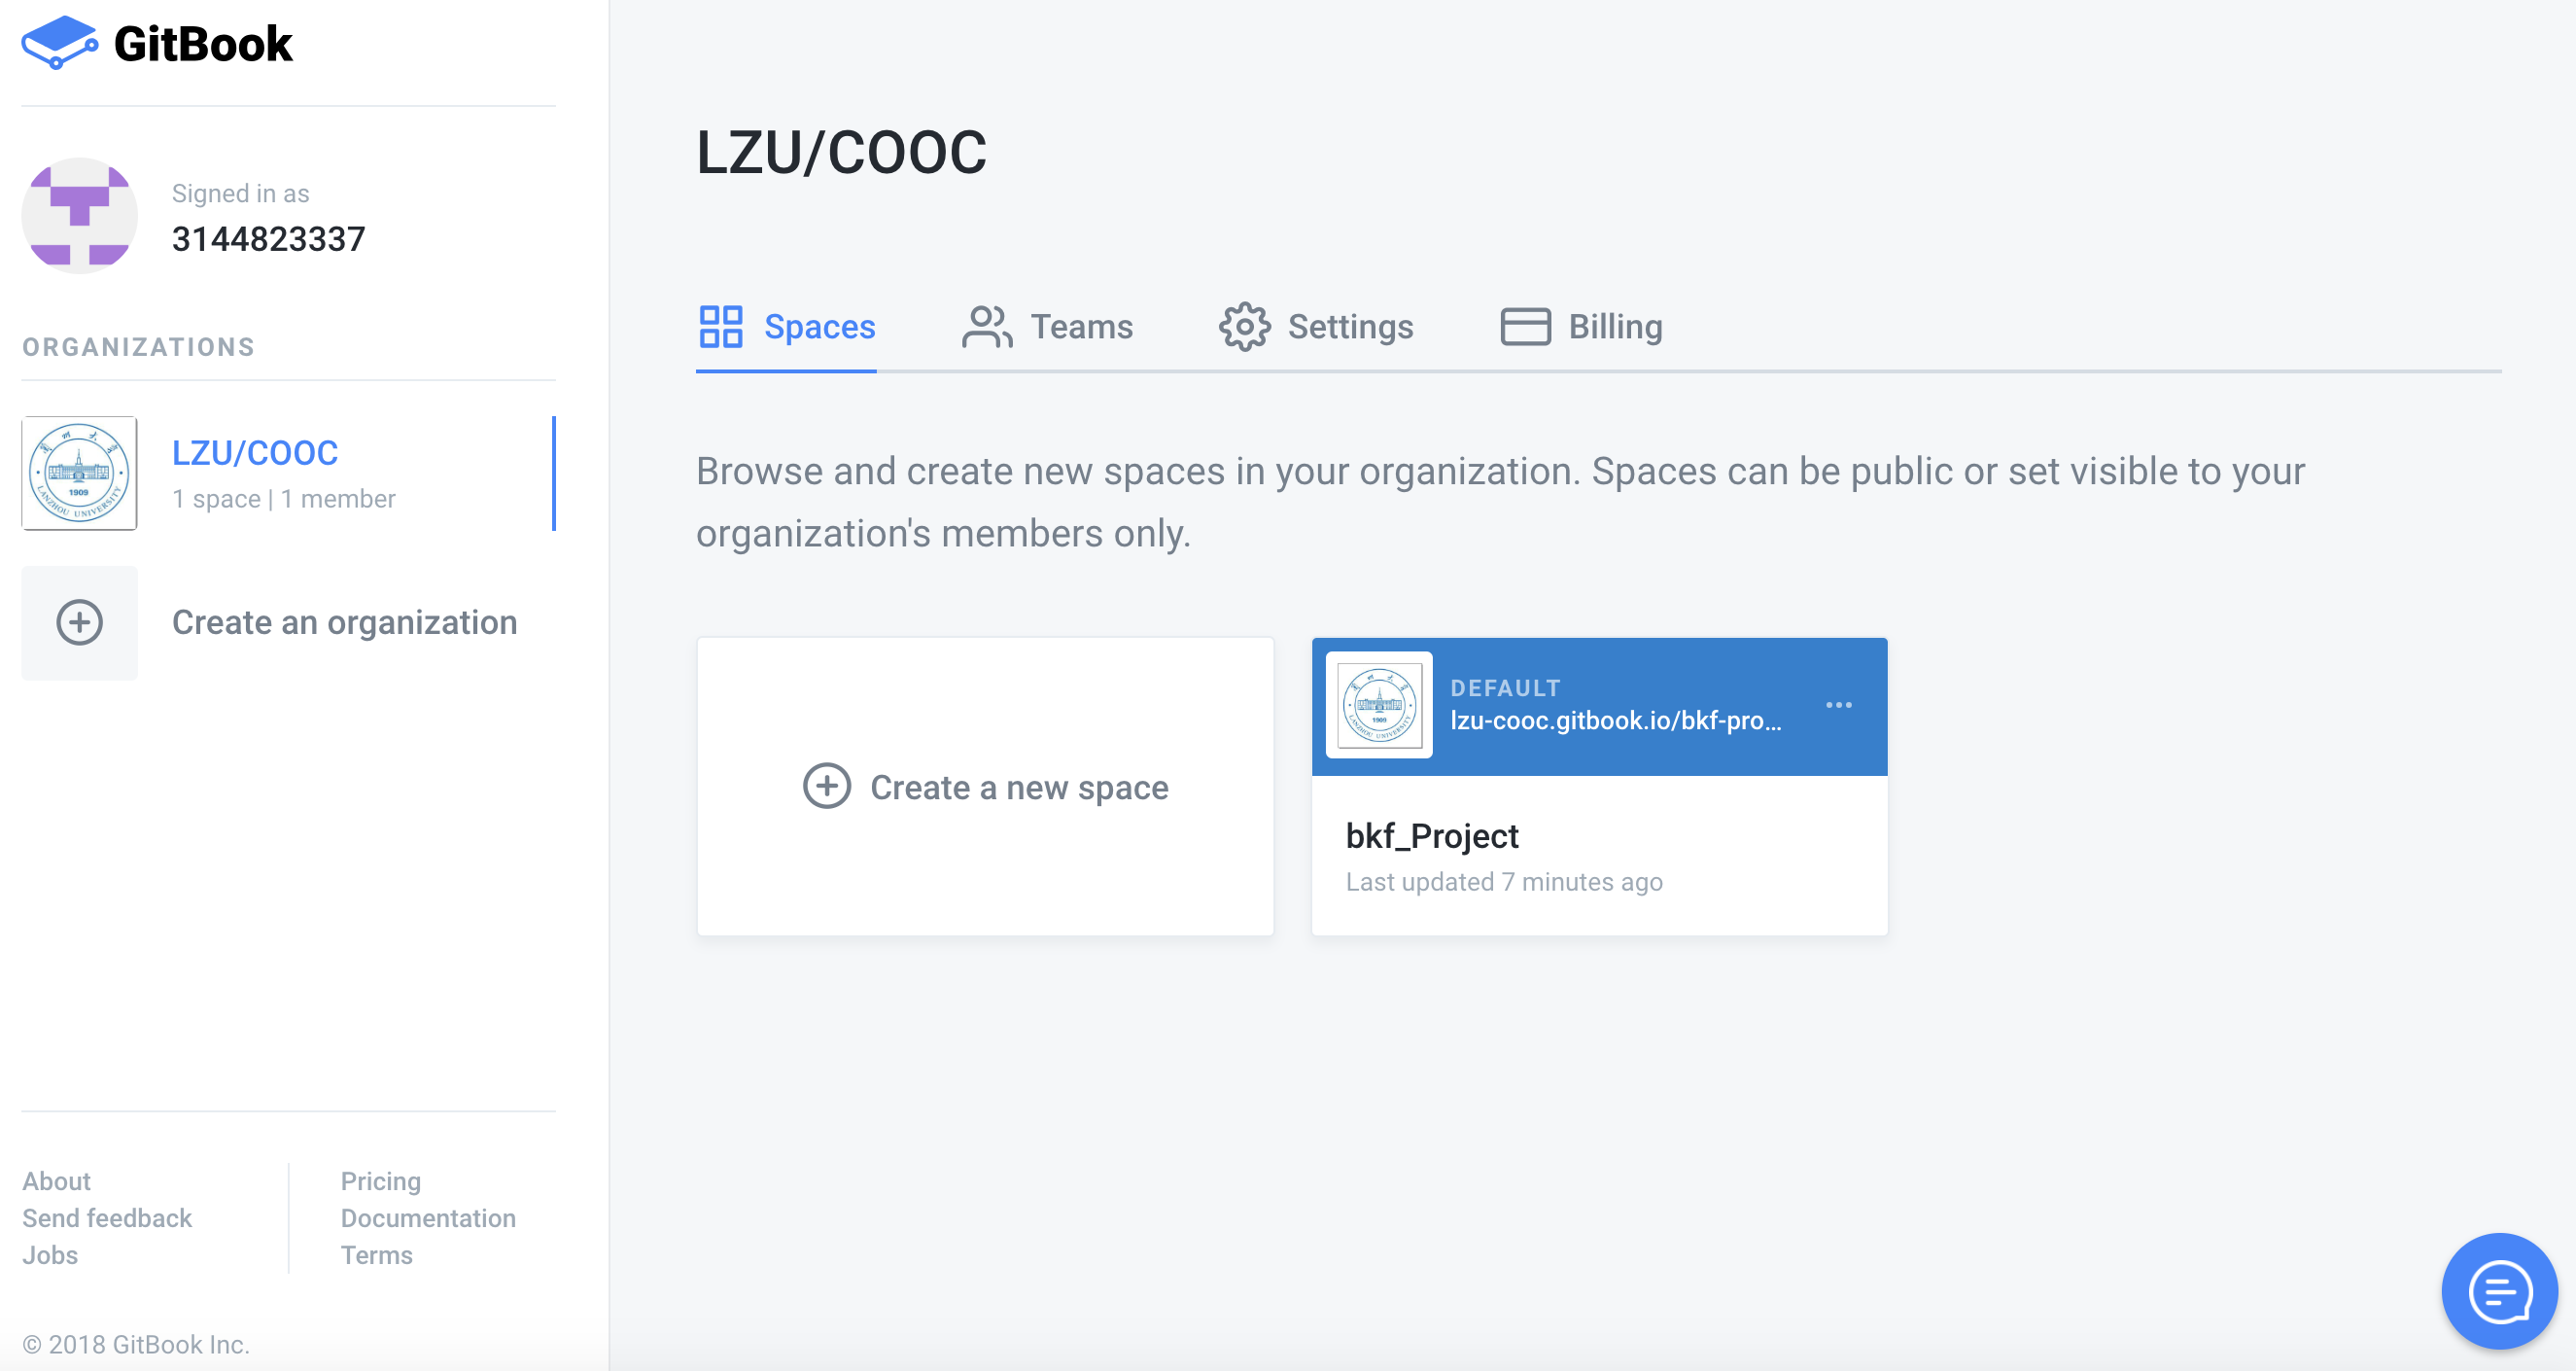
5.Once created, as shown below, you can create another book with bkf-Project in the LZU / COOC organization.
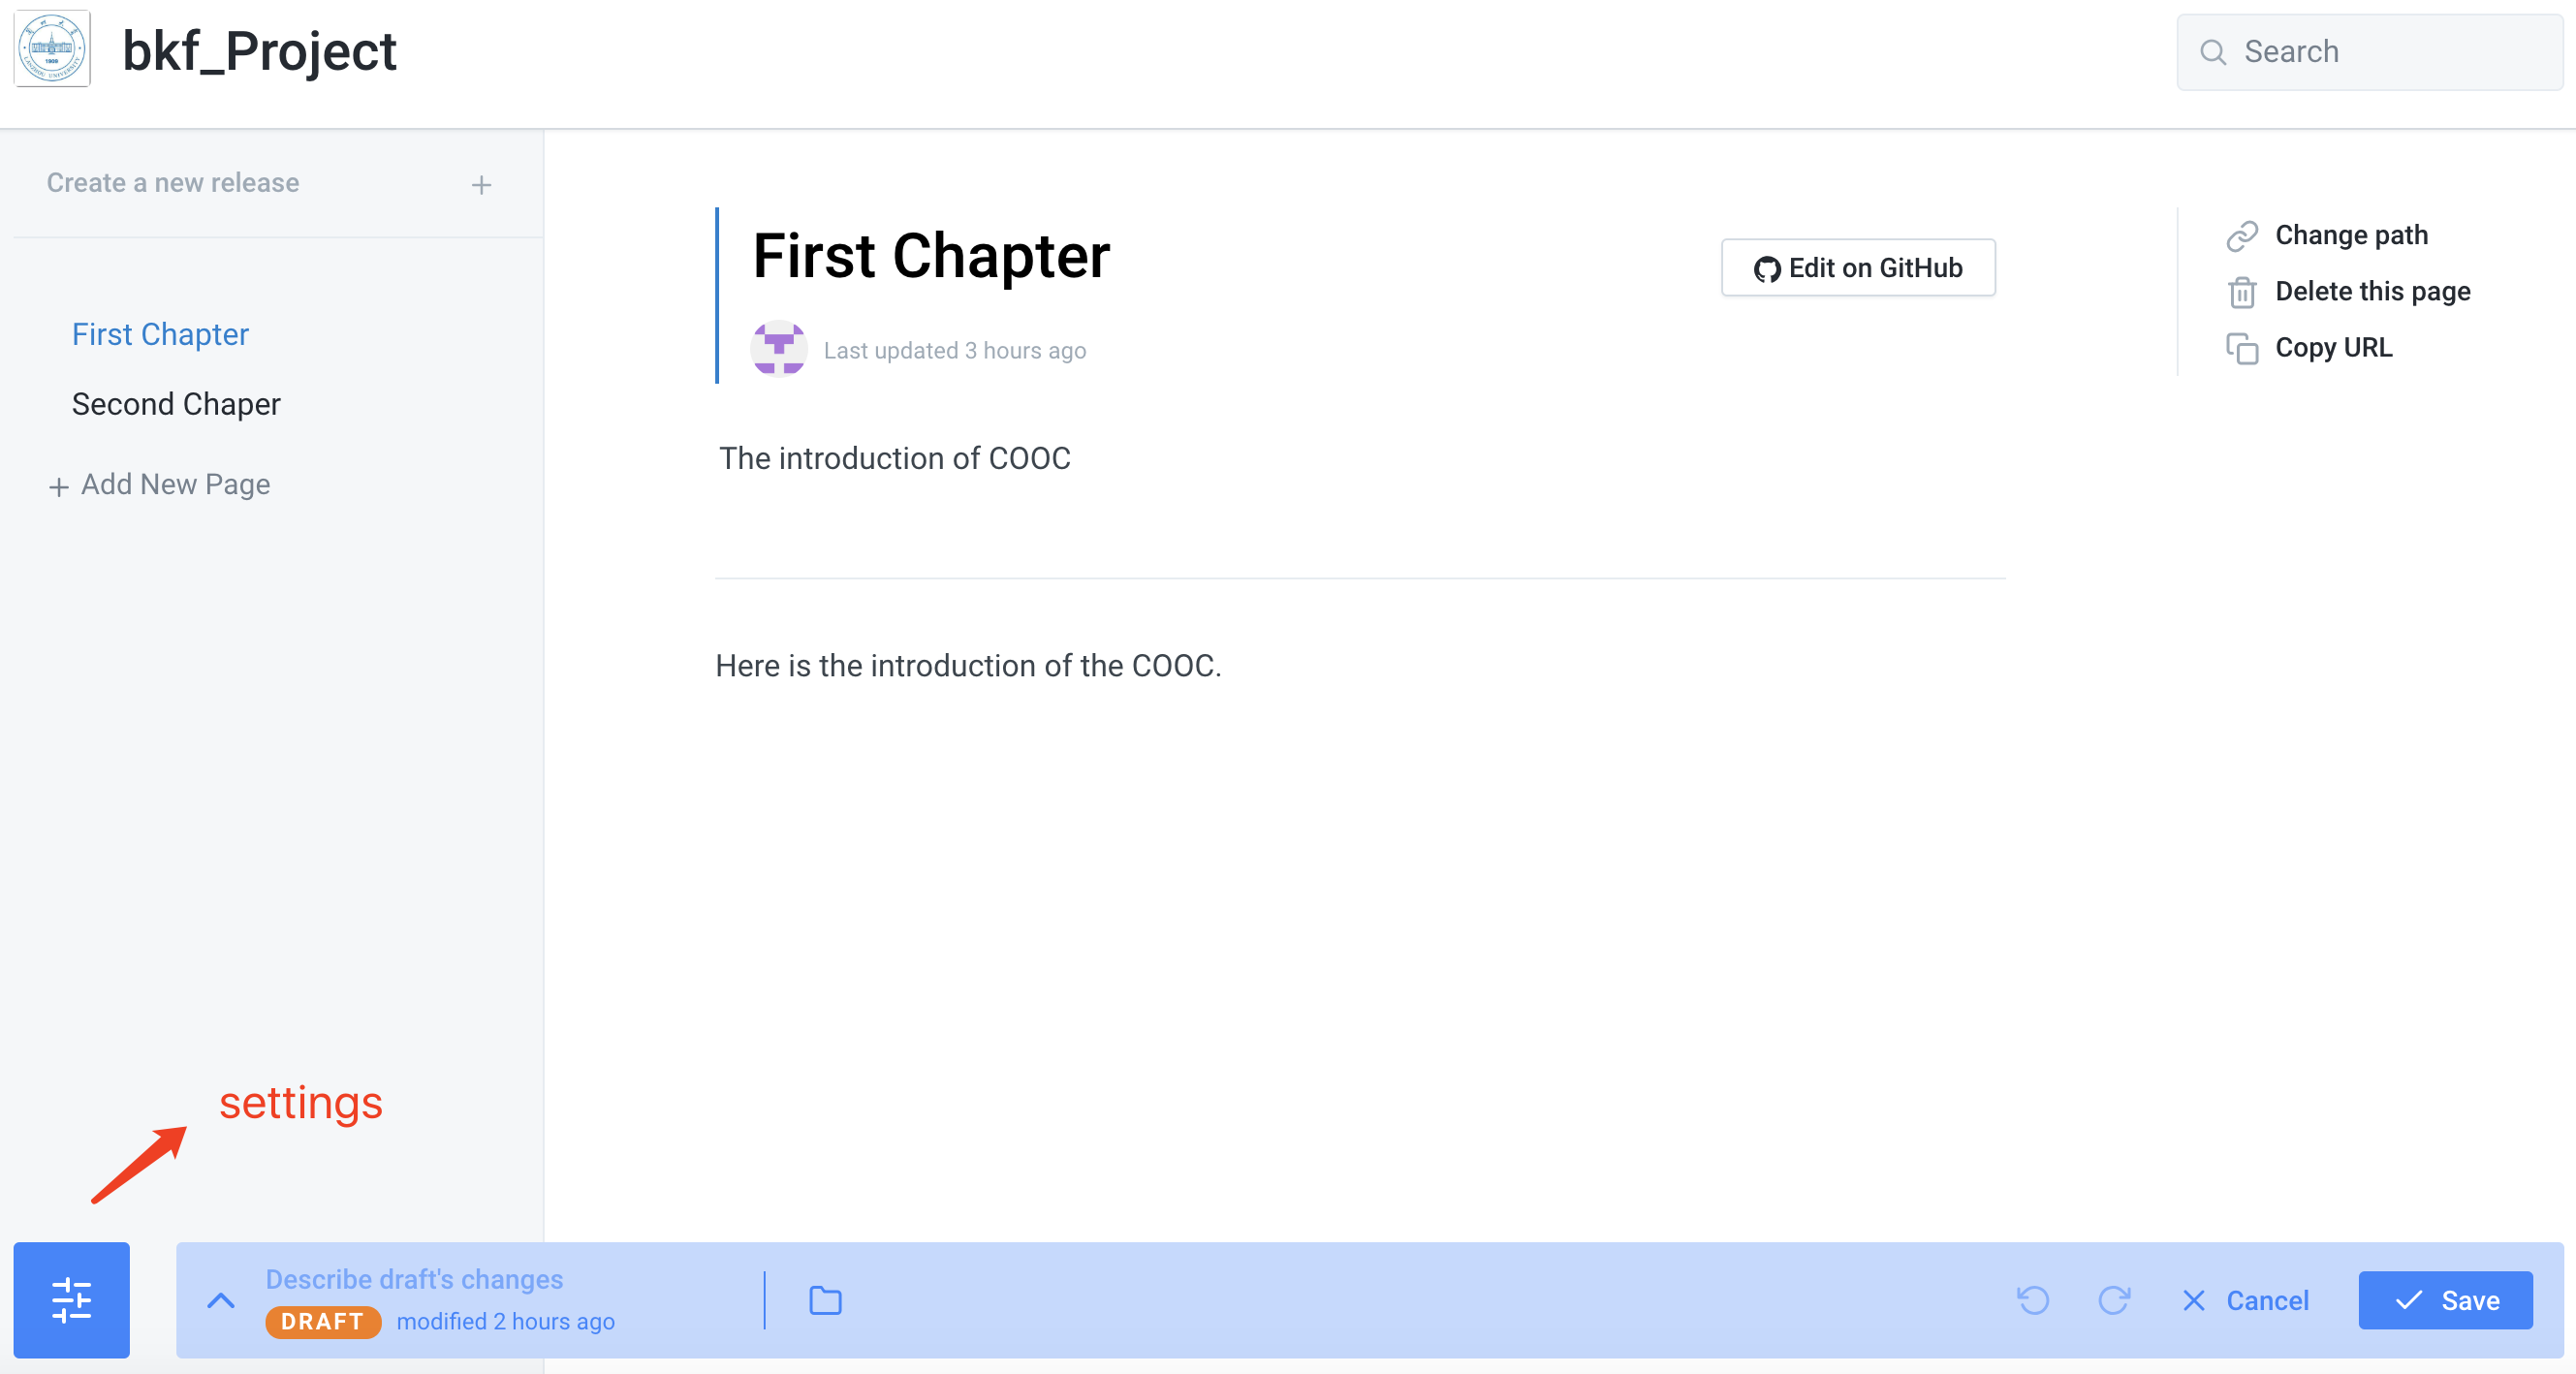
6.After entering the book, the edit interface is as follows. We click the setting button on the lower left corner to associate with GitHub.
7.Choose as follows:Intergrations -> Github -> Link your Github Repository
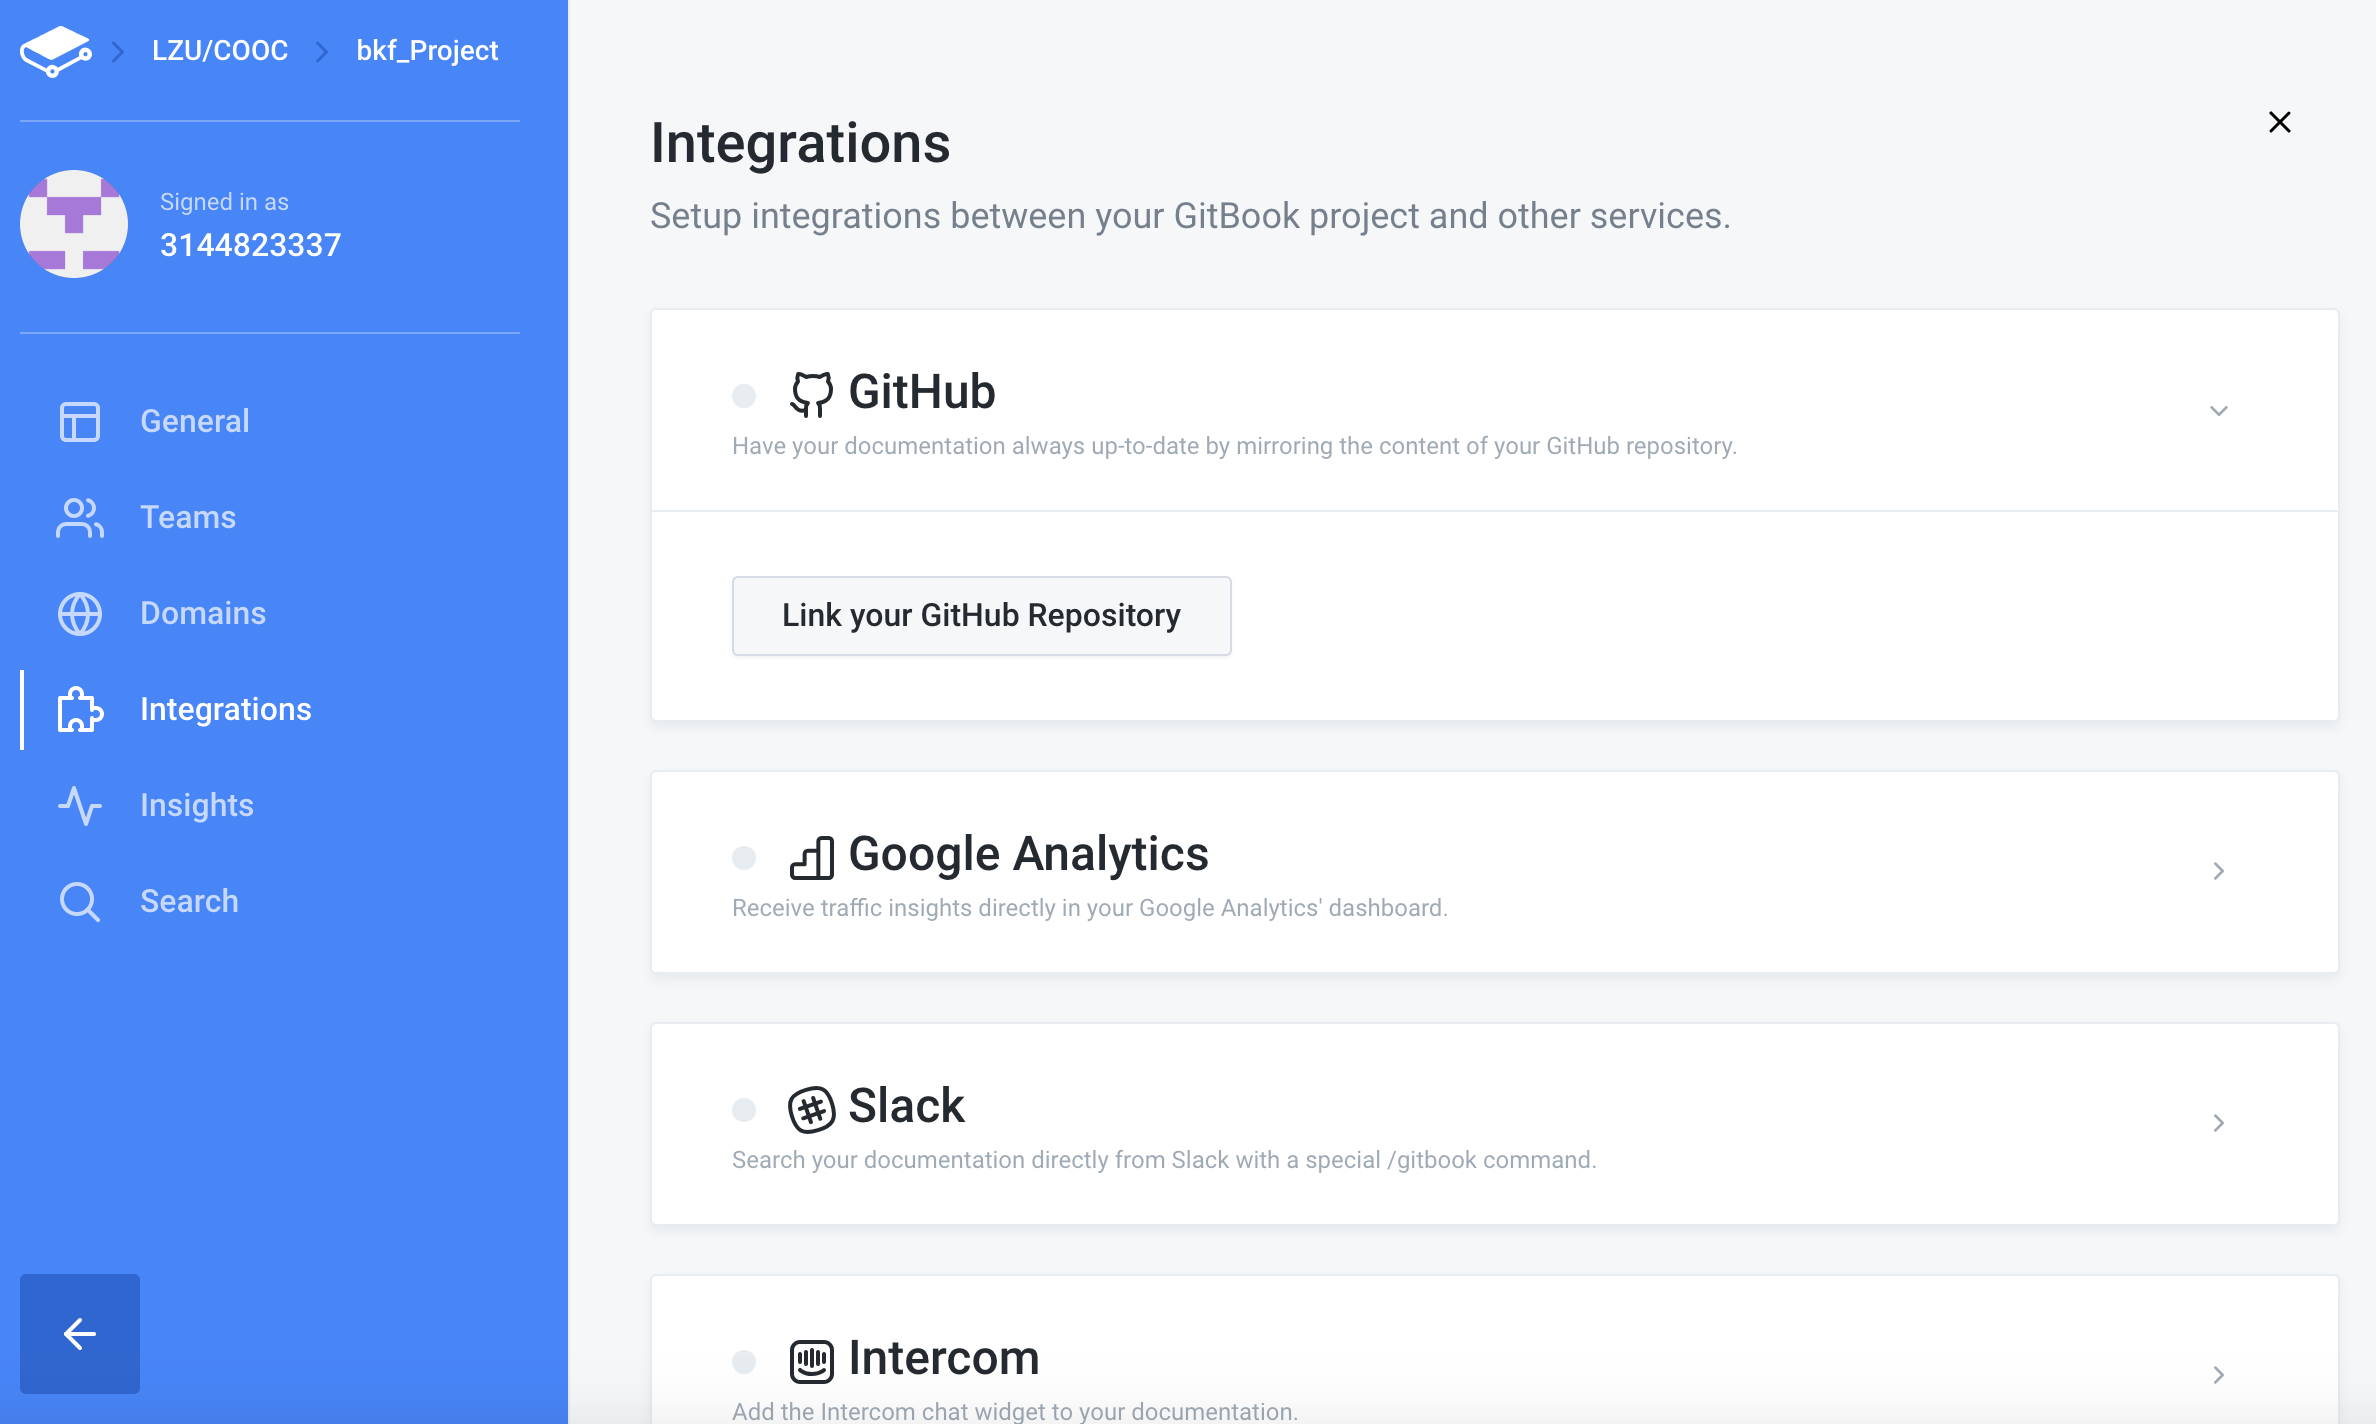
The operation steps are as follows:
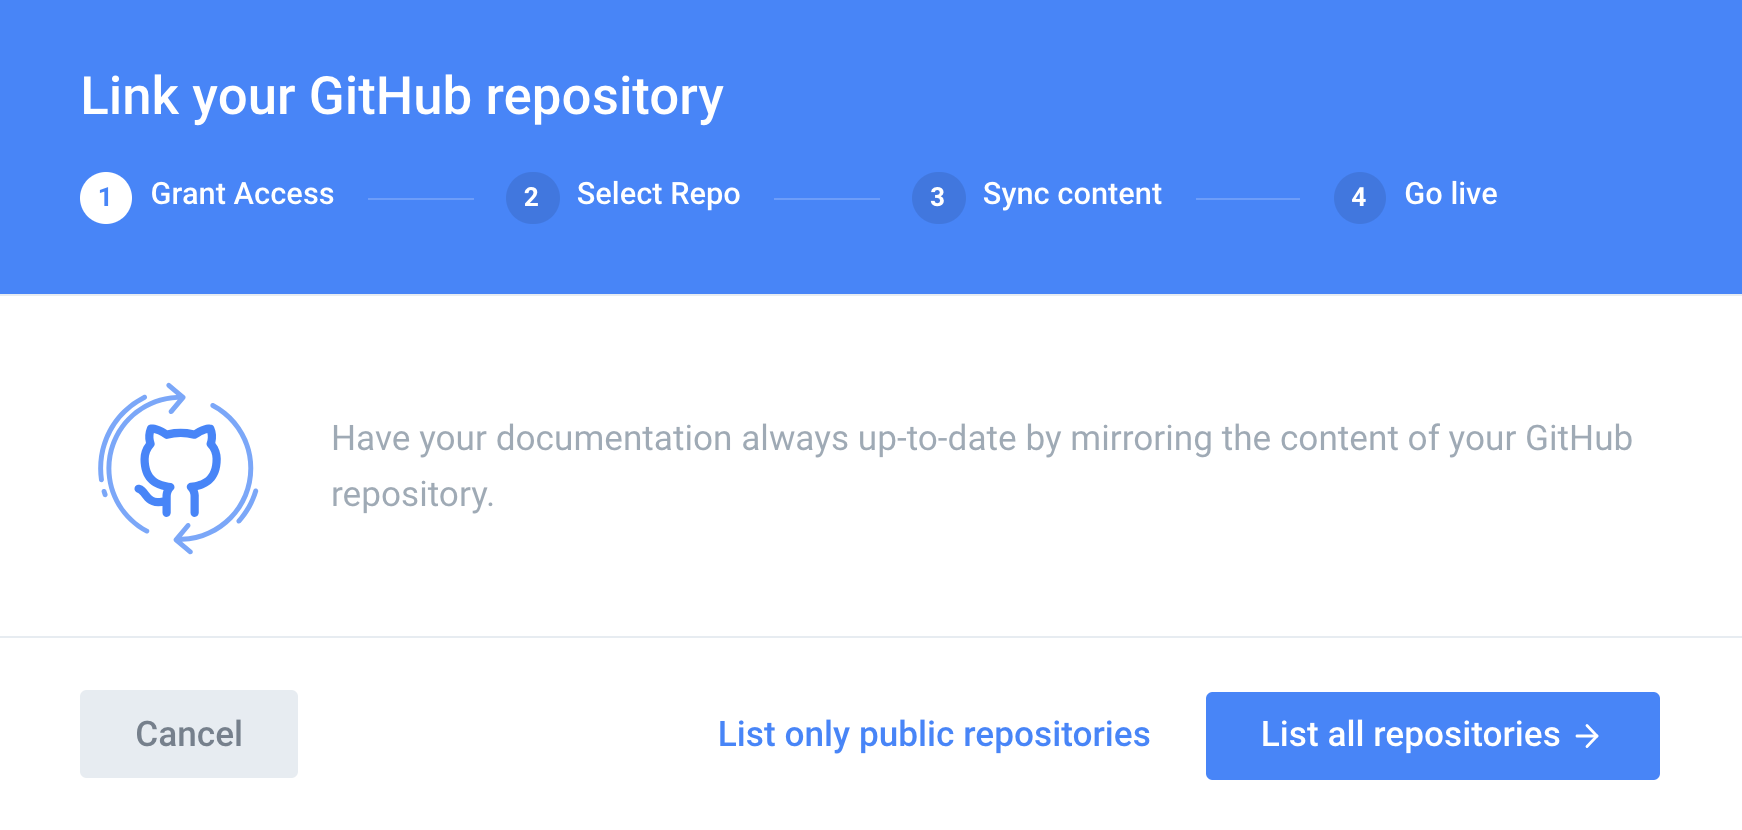
Gitbook will automatically search your nearest Github and find the warehouse inside. We choose "List all repositories"
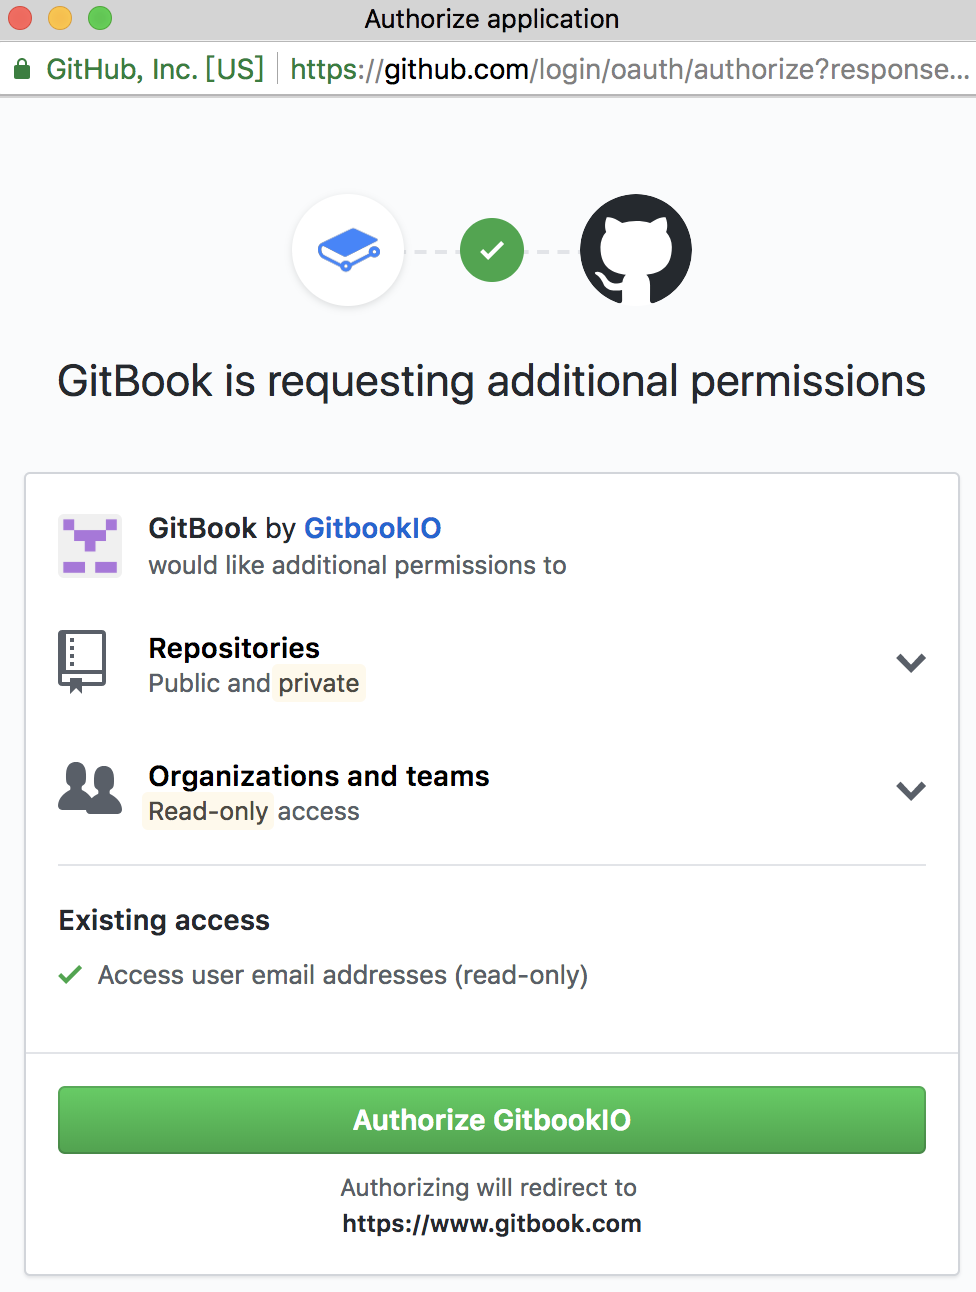
At this point, Gitbook will issue an association request to Github. We just click on the authorization button "Autorize GitbookIO".
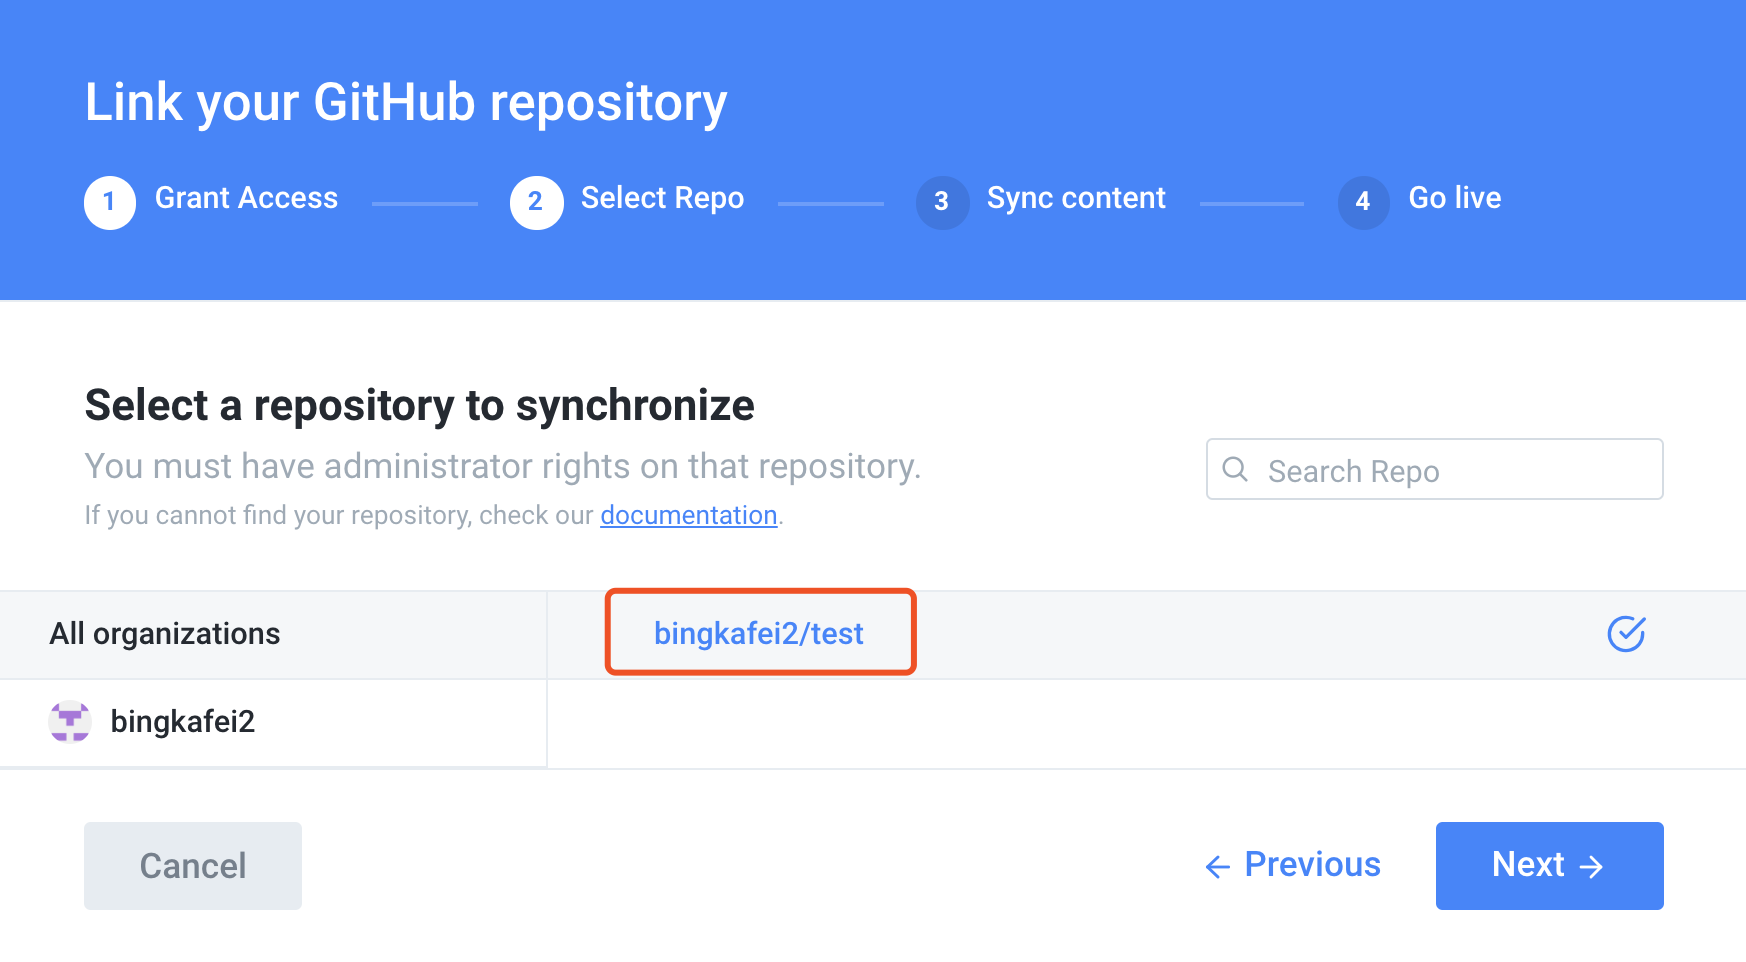
Since we only created the book of test, we can select it, if Github has a lot of warehouses, it will be listed out, and a book can only correspond to one of the repositories in Github.
SimultAdvEndoStION只“Sync master branch only”,SouthOffice Github PosialStudio,IsAuthOffice AdvestOrthPosialStimeDebug,TeaSouthOffice.
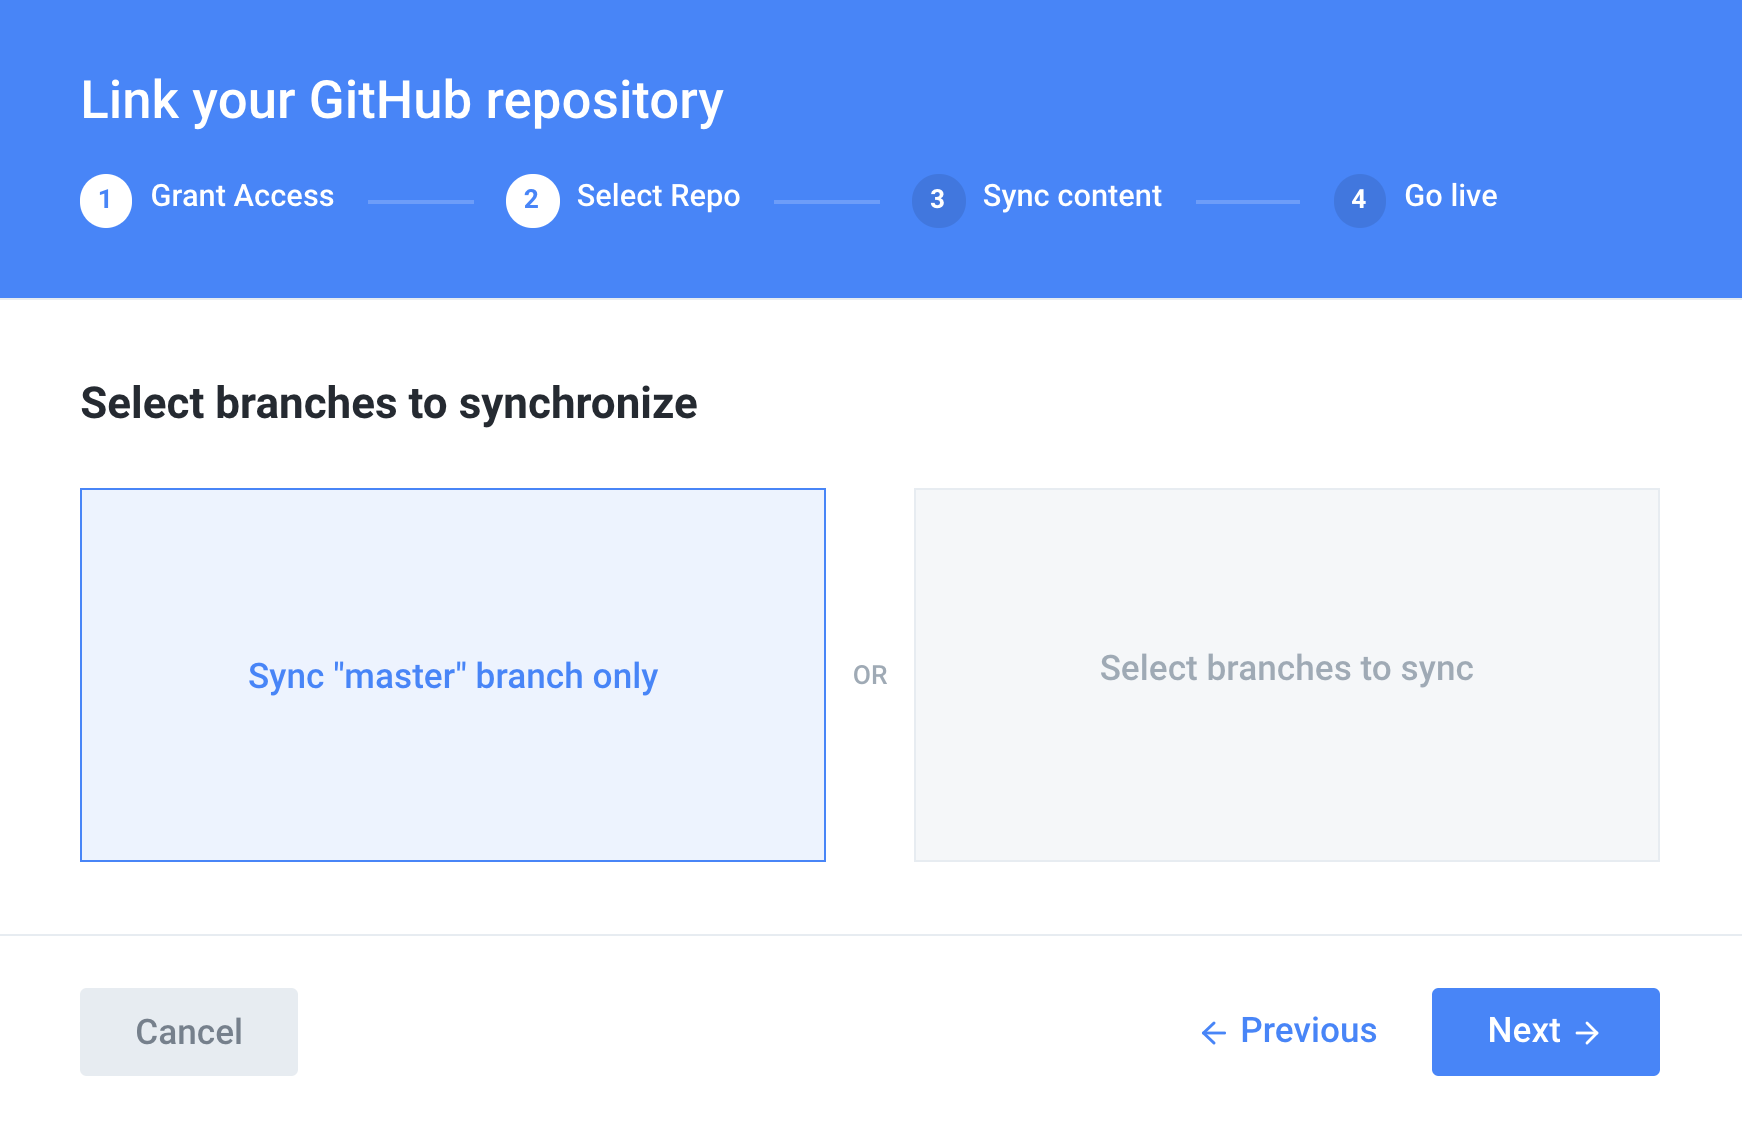
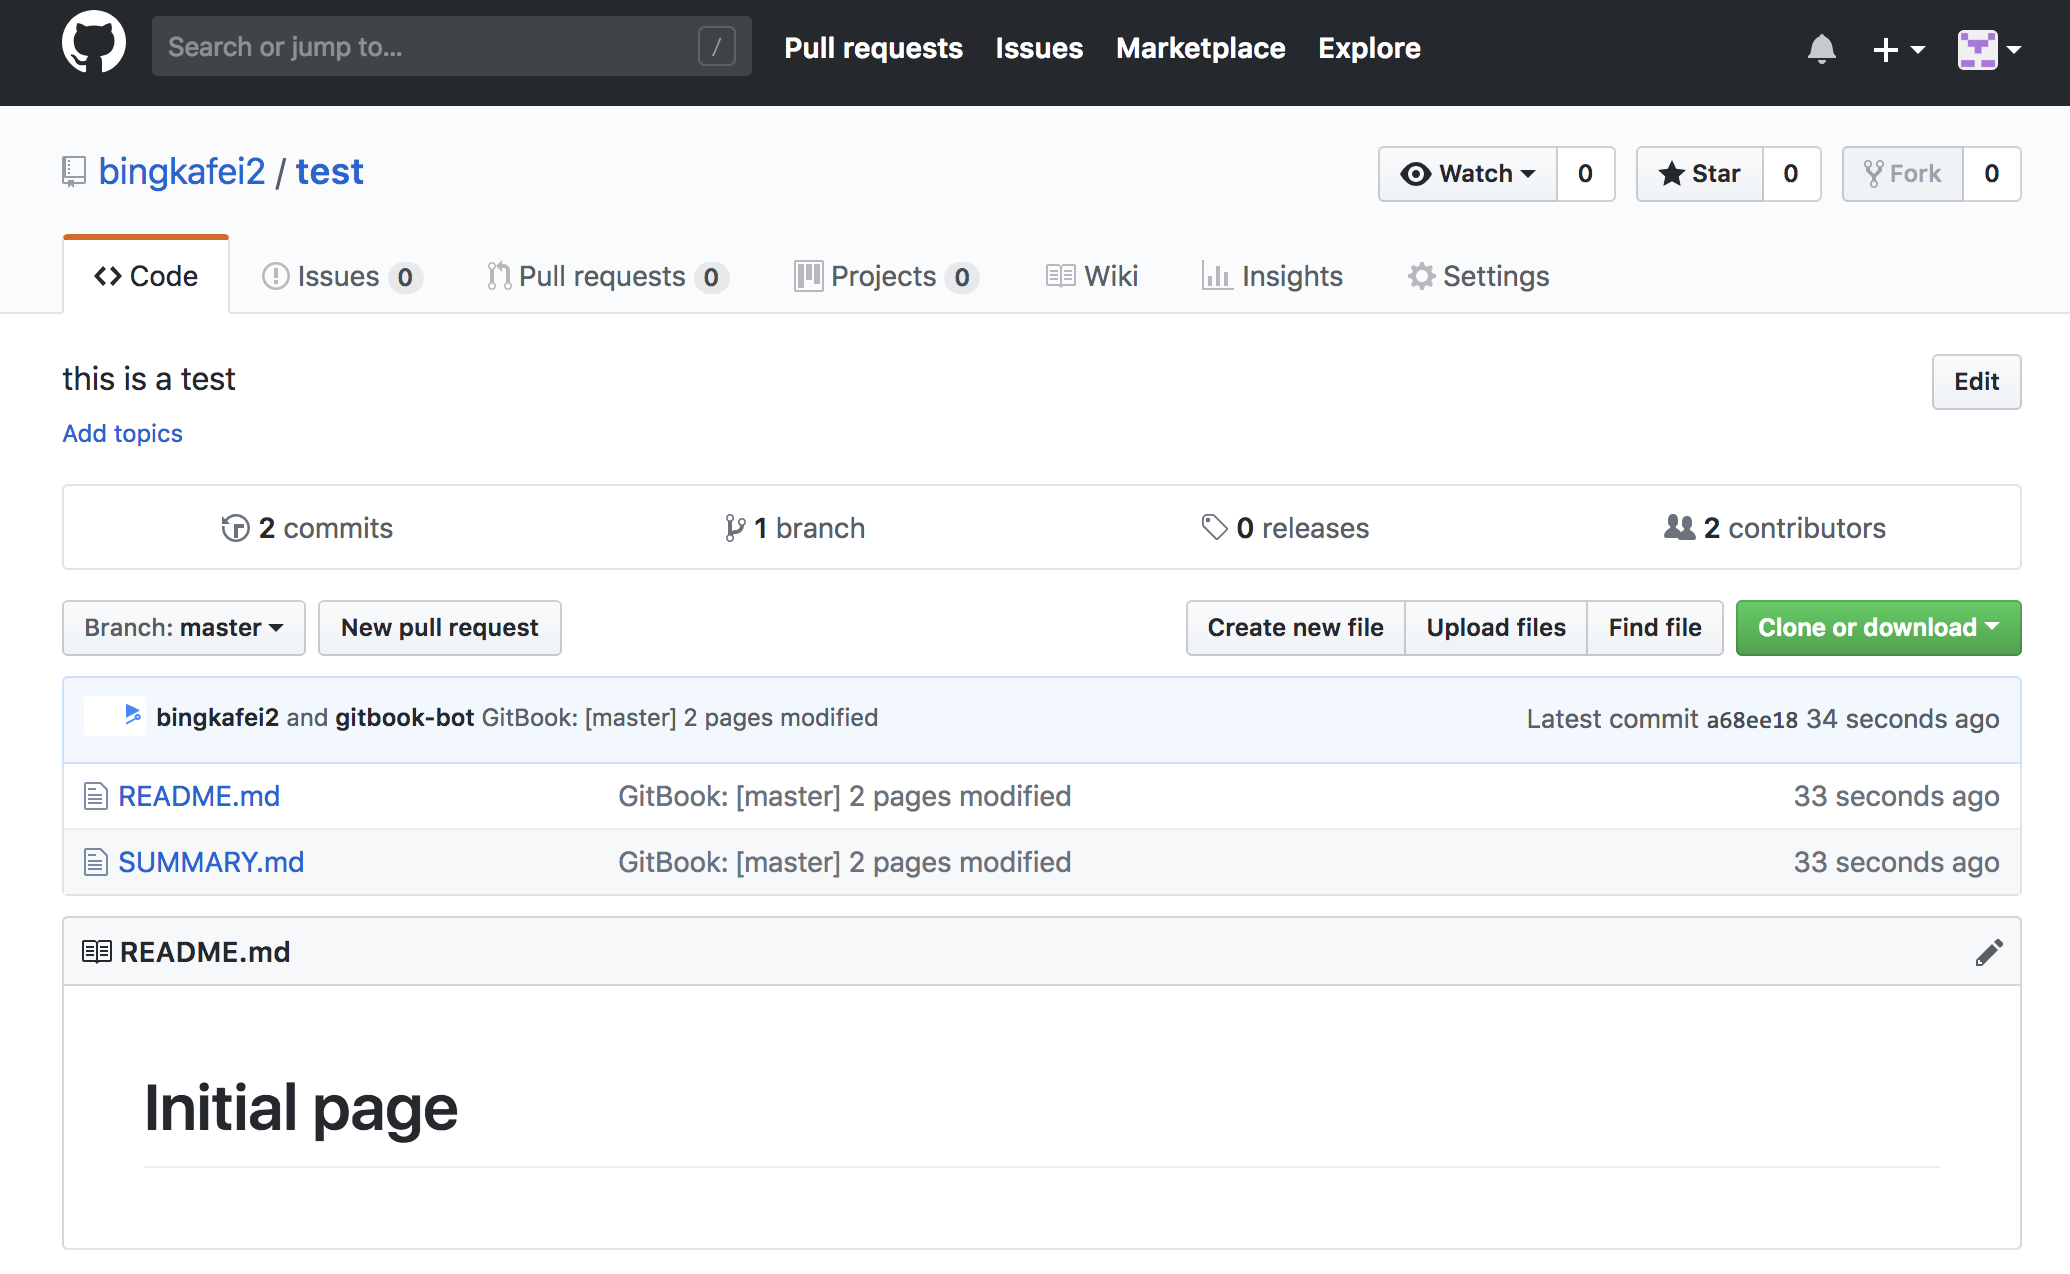
The remaining steps select the default, when completed, refresh Github's test warehouse and find that the repository is changed, because the Gitbook is synchronized, so the purpose of allowing Gitbook and Github to be associated is that the other will change synchronously when one of them changes. In this way, it is easy to publicize the book through Github, while Gitbook is responsible for visualization.
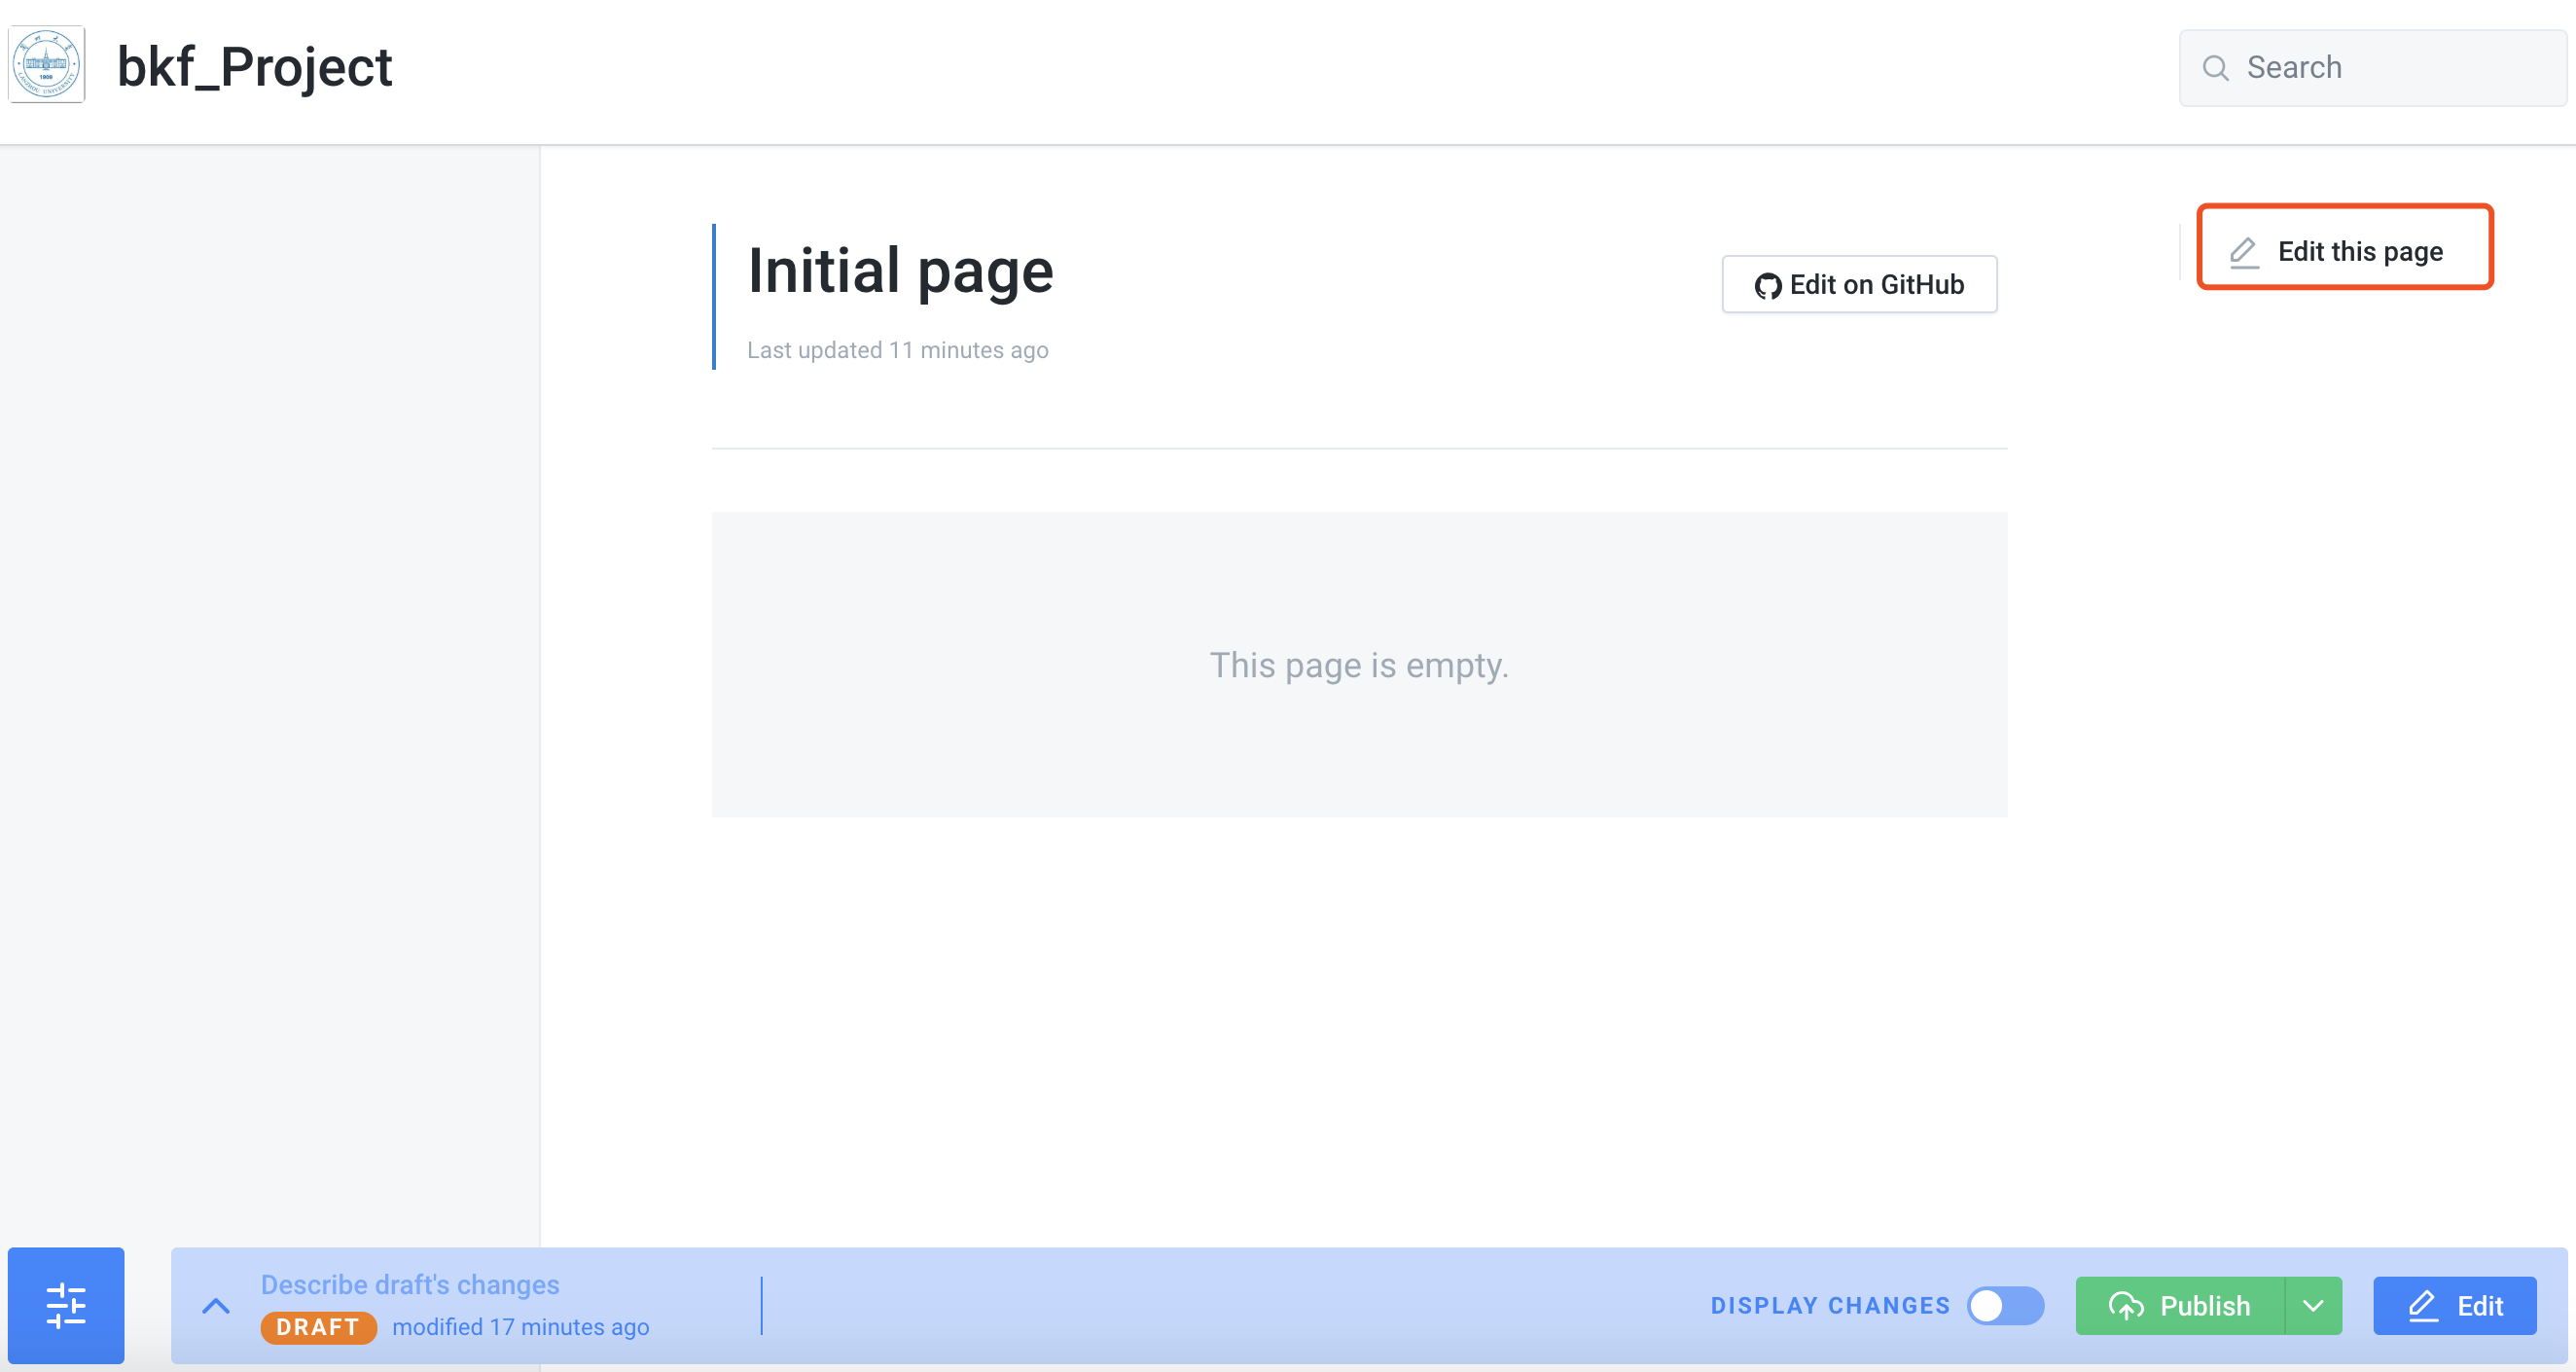
8.Let's go back to the test book in Gitbook and choose the editor in the upper right corner.
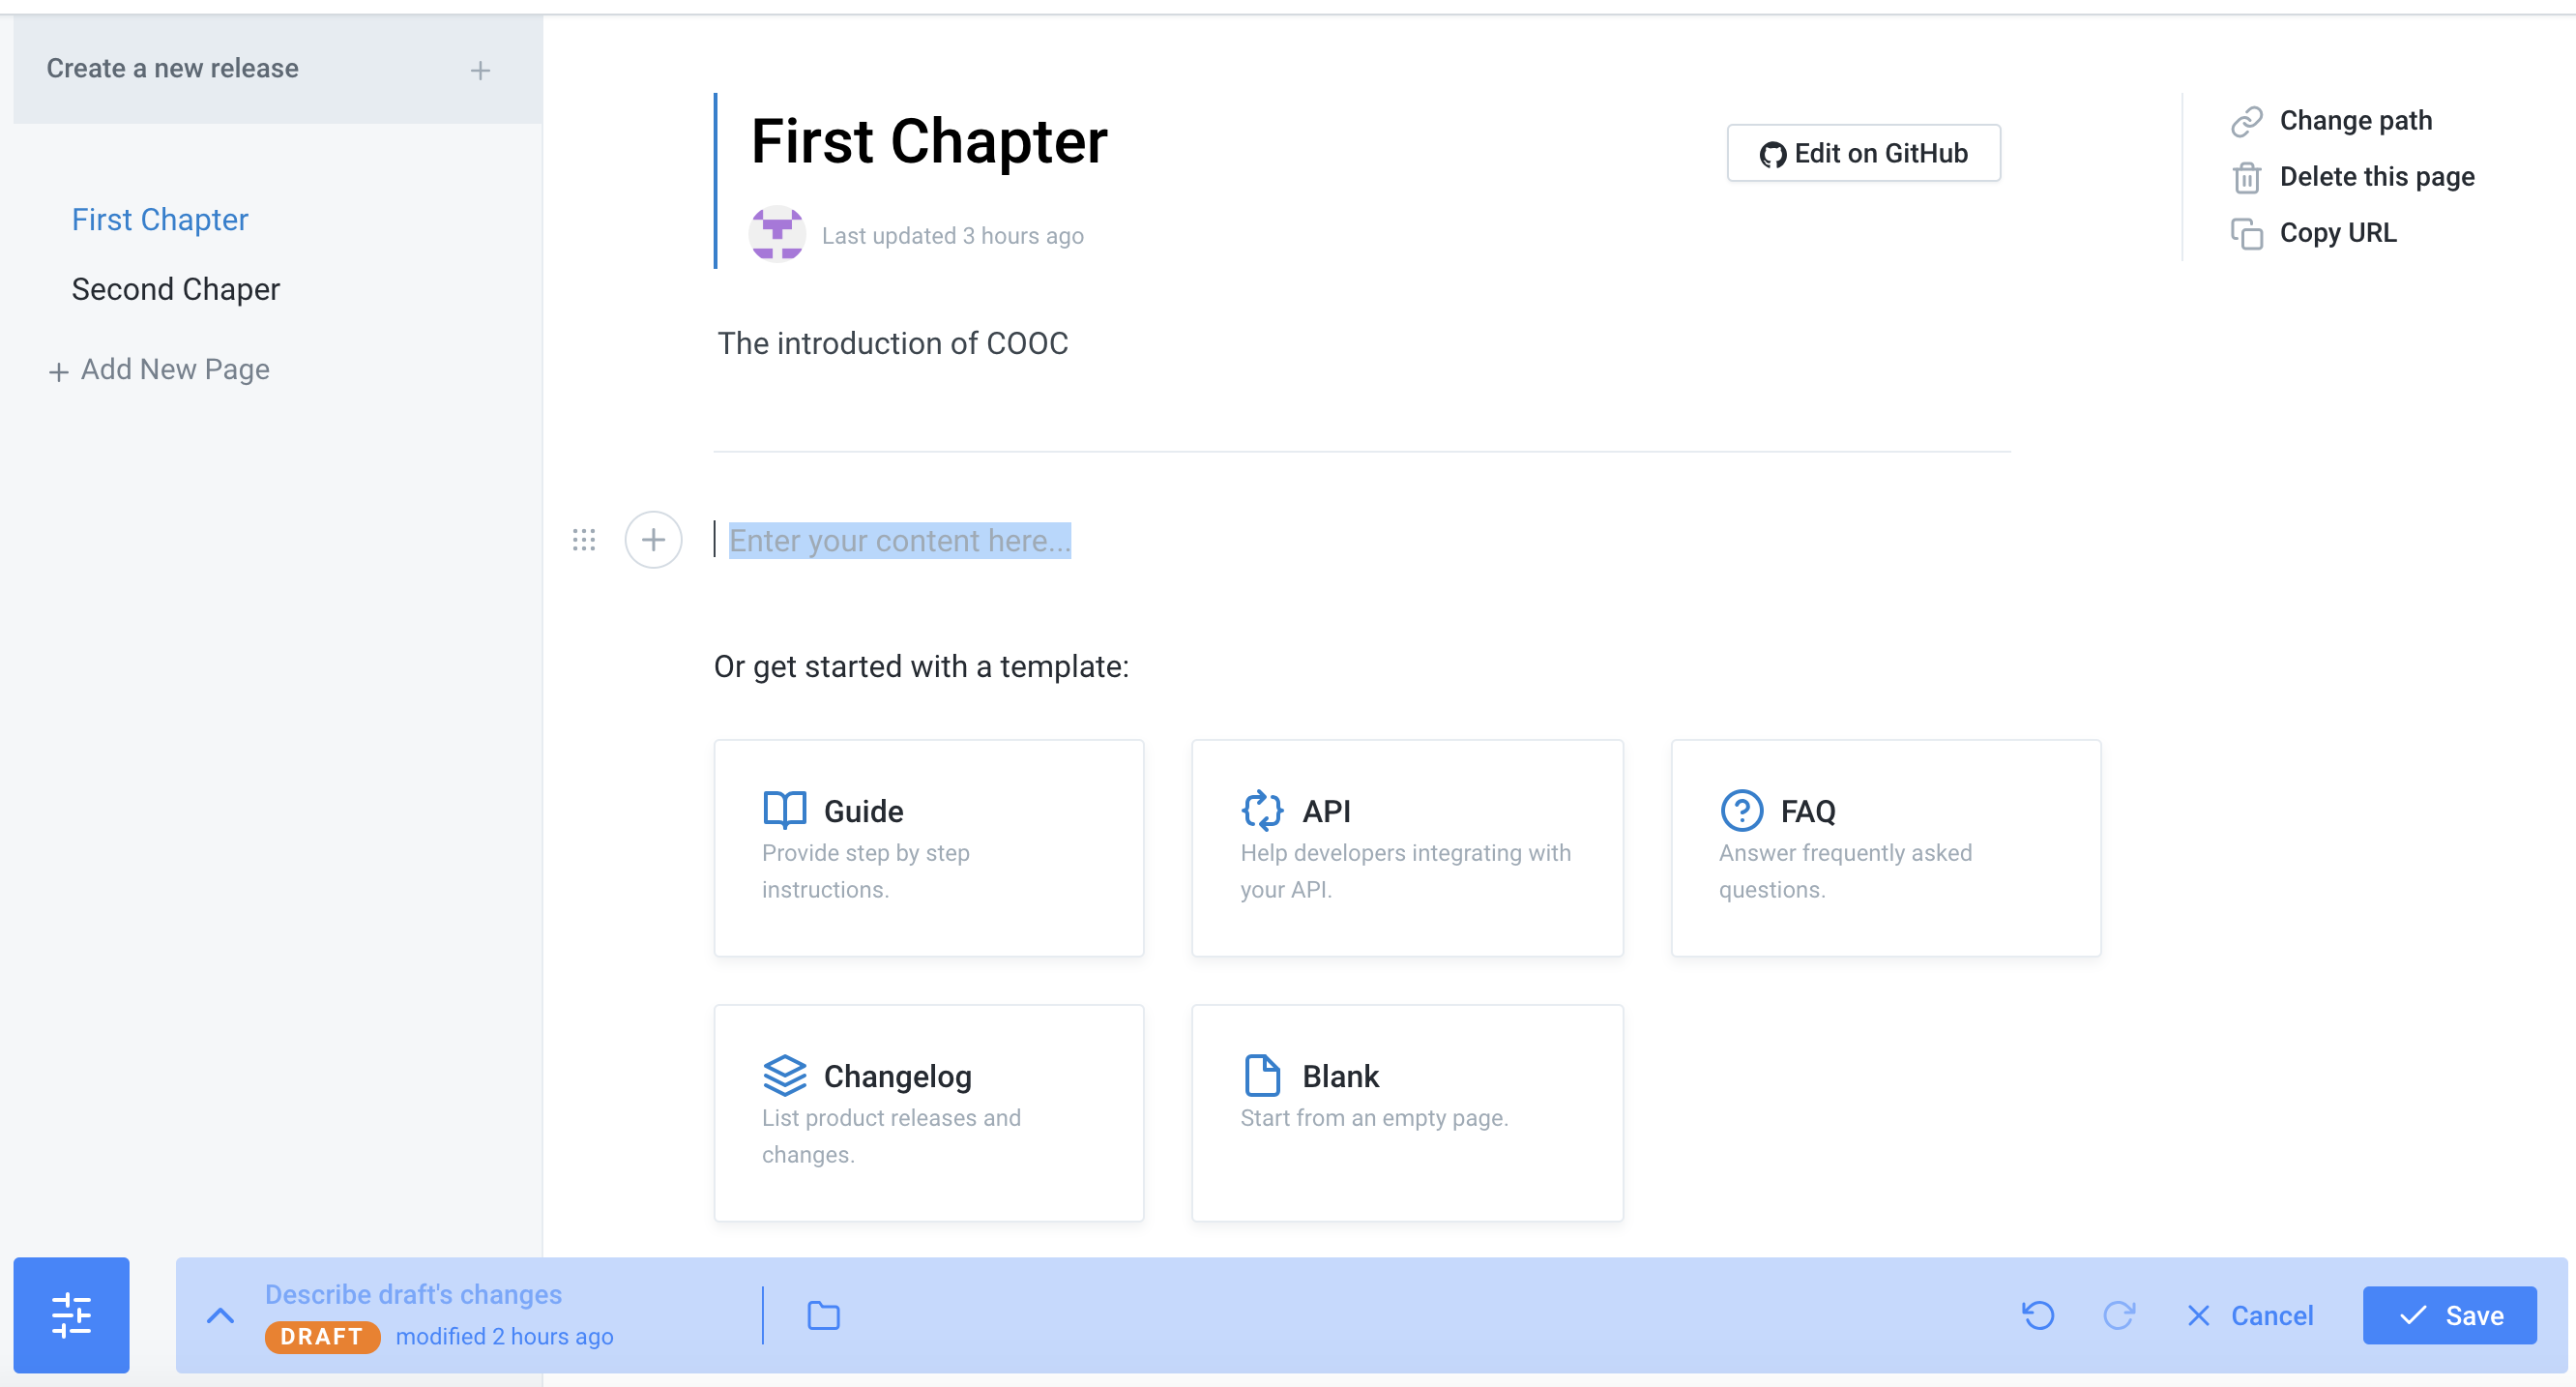
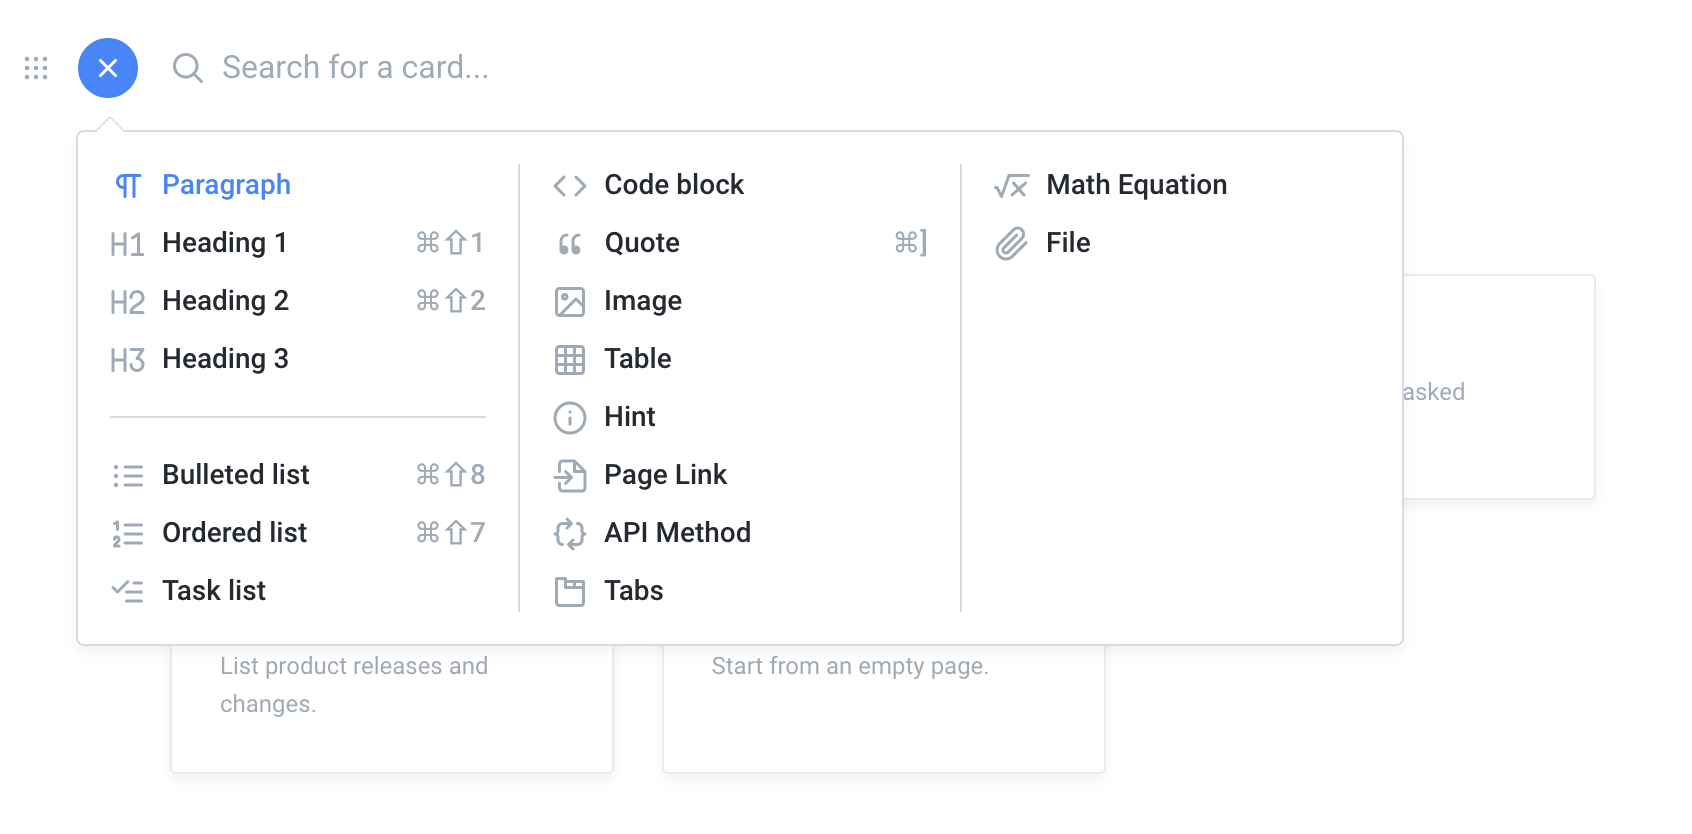
9.There are many shortcuts in editing:
10.When the editor is complete, click on the lower right corner "save" to save, and then click the green "Publish" next to the synchronization, save only the content in the buffer, and publish is synchronized upload, really saved on the Internet.
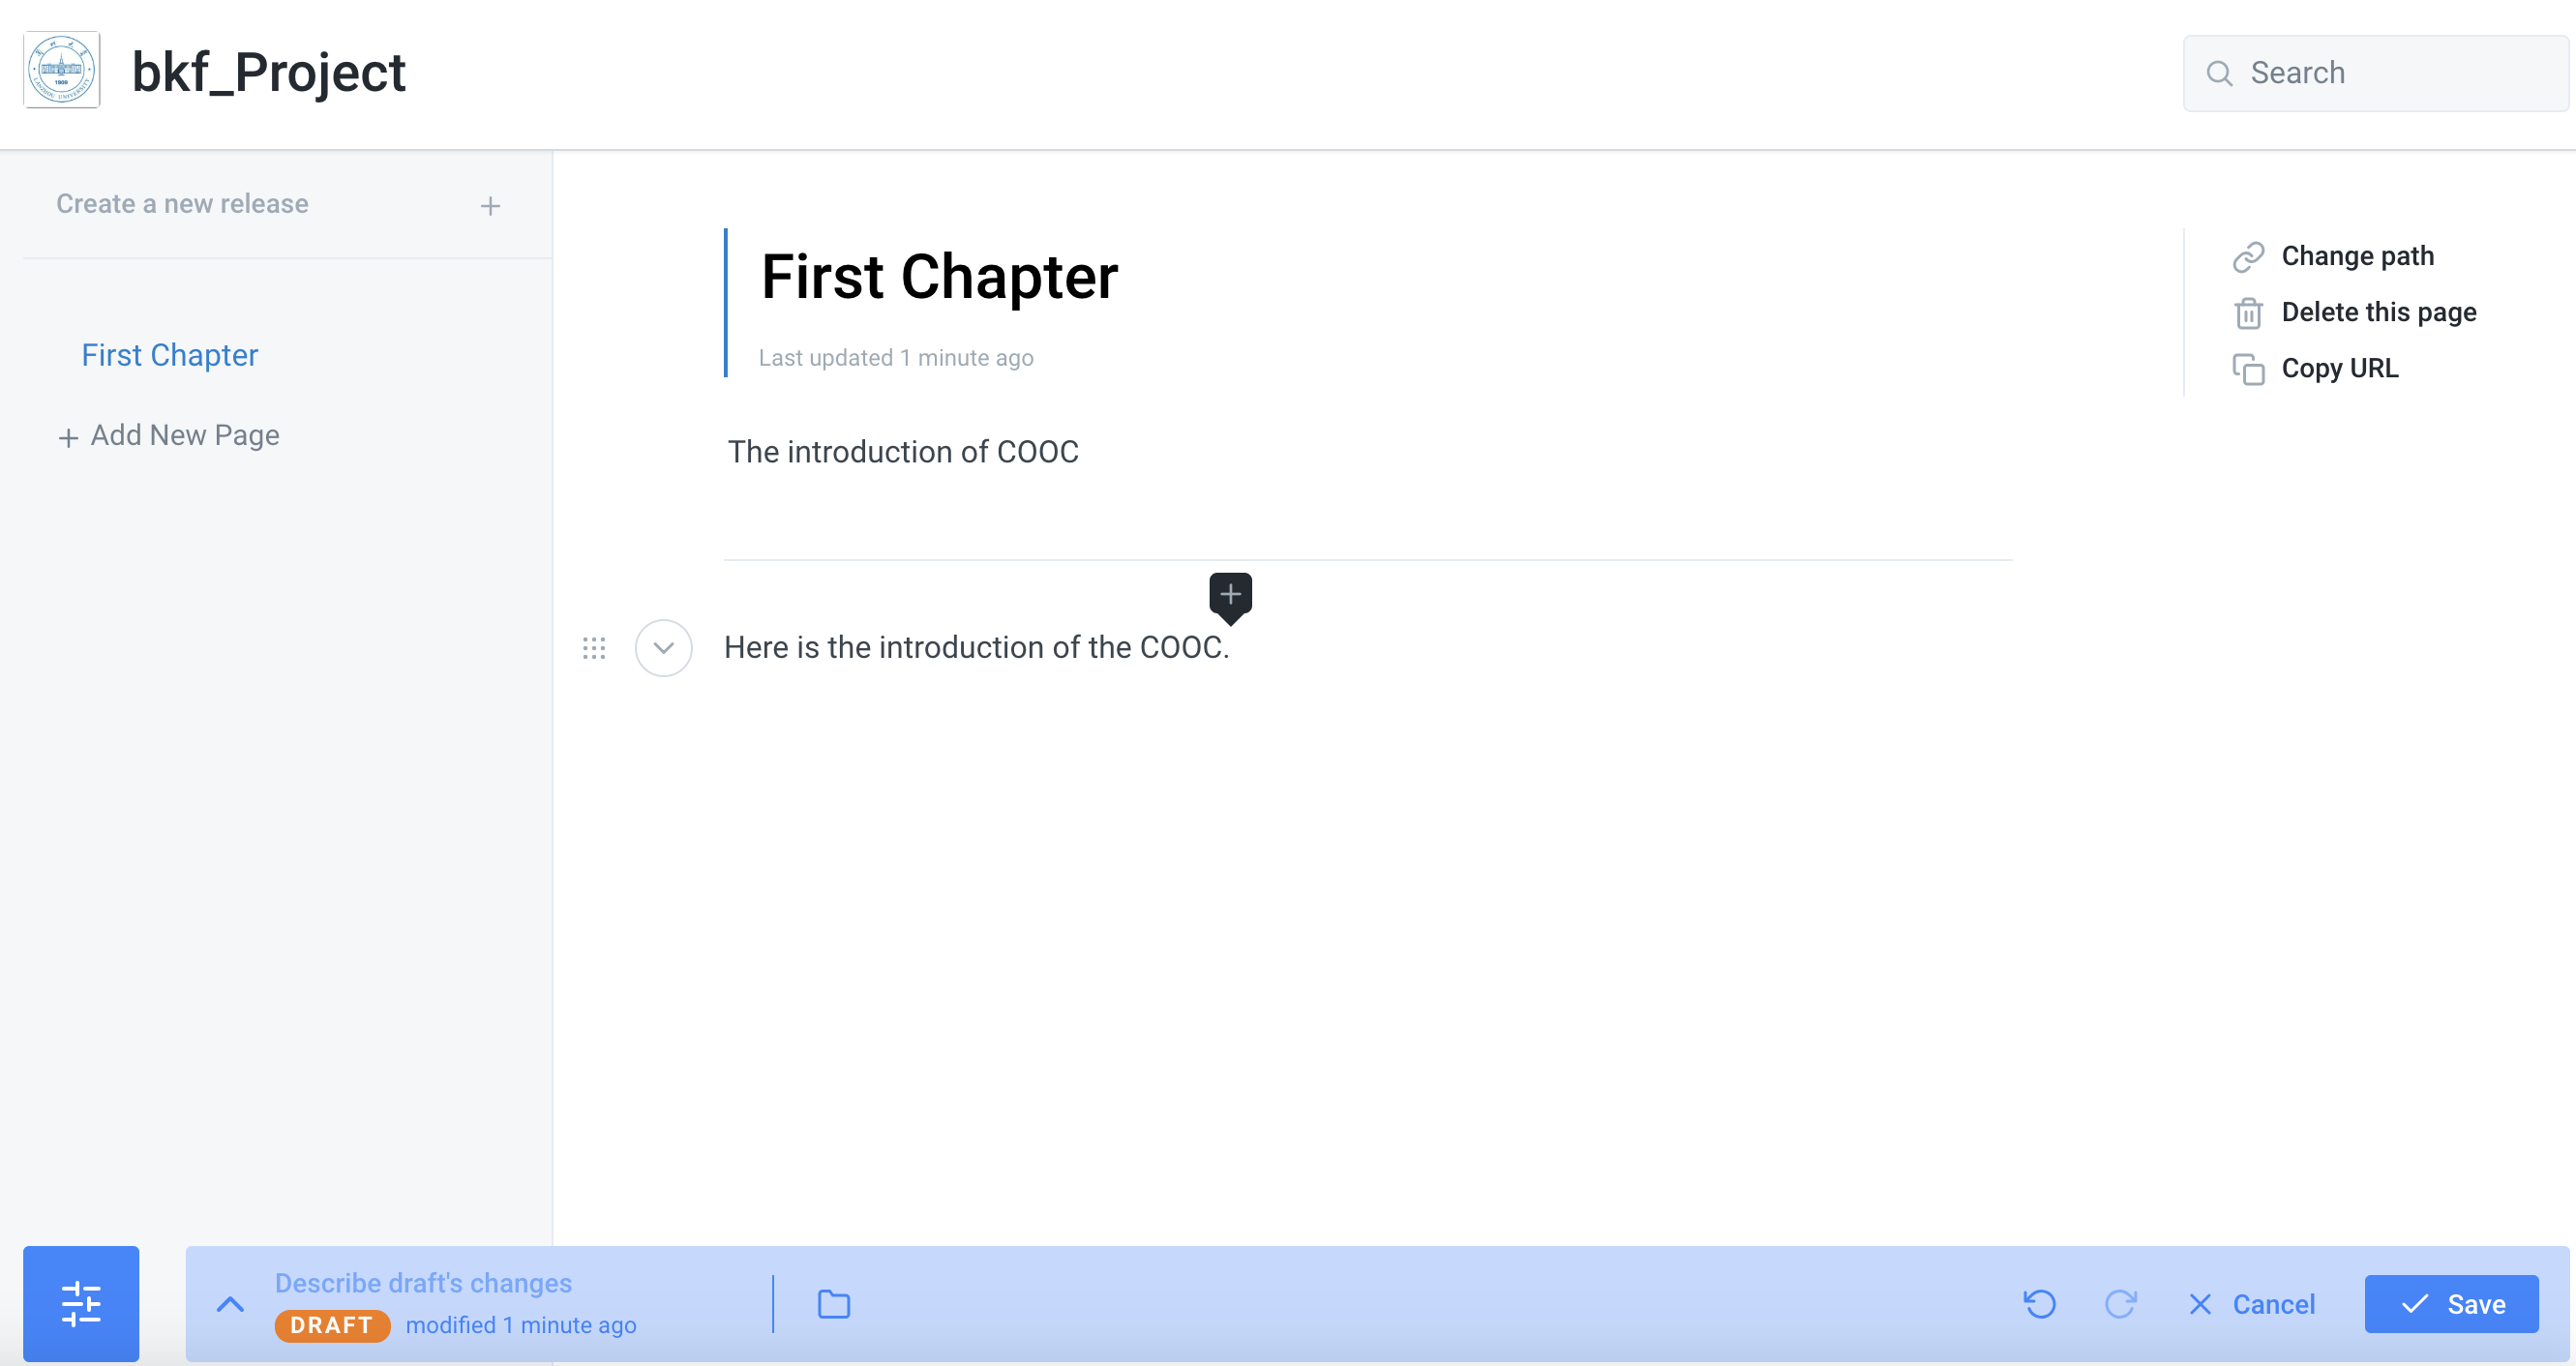
11.The lower left corner records the uploaded historical records and can be rolled back to any history.

12.After synchronization, we went back to Github's test repository for refresh and found that it did change, so the connection between Gitbook and Github was successful.
If you want to edit this book better, you'd better download the Gitbook client for editing, see the next section.
13.Search the search engine for the Gitbook editor to download, go to the official website to download the latest version and install, follow the steps to log in, preferably using the Gitbook account.
14.After landing, Gitbook will automatically synchronize all your books, choose the books you want to edit, and enter the Gitbook editing interface. Select the "Edit markdown" in the lower right corner for editing
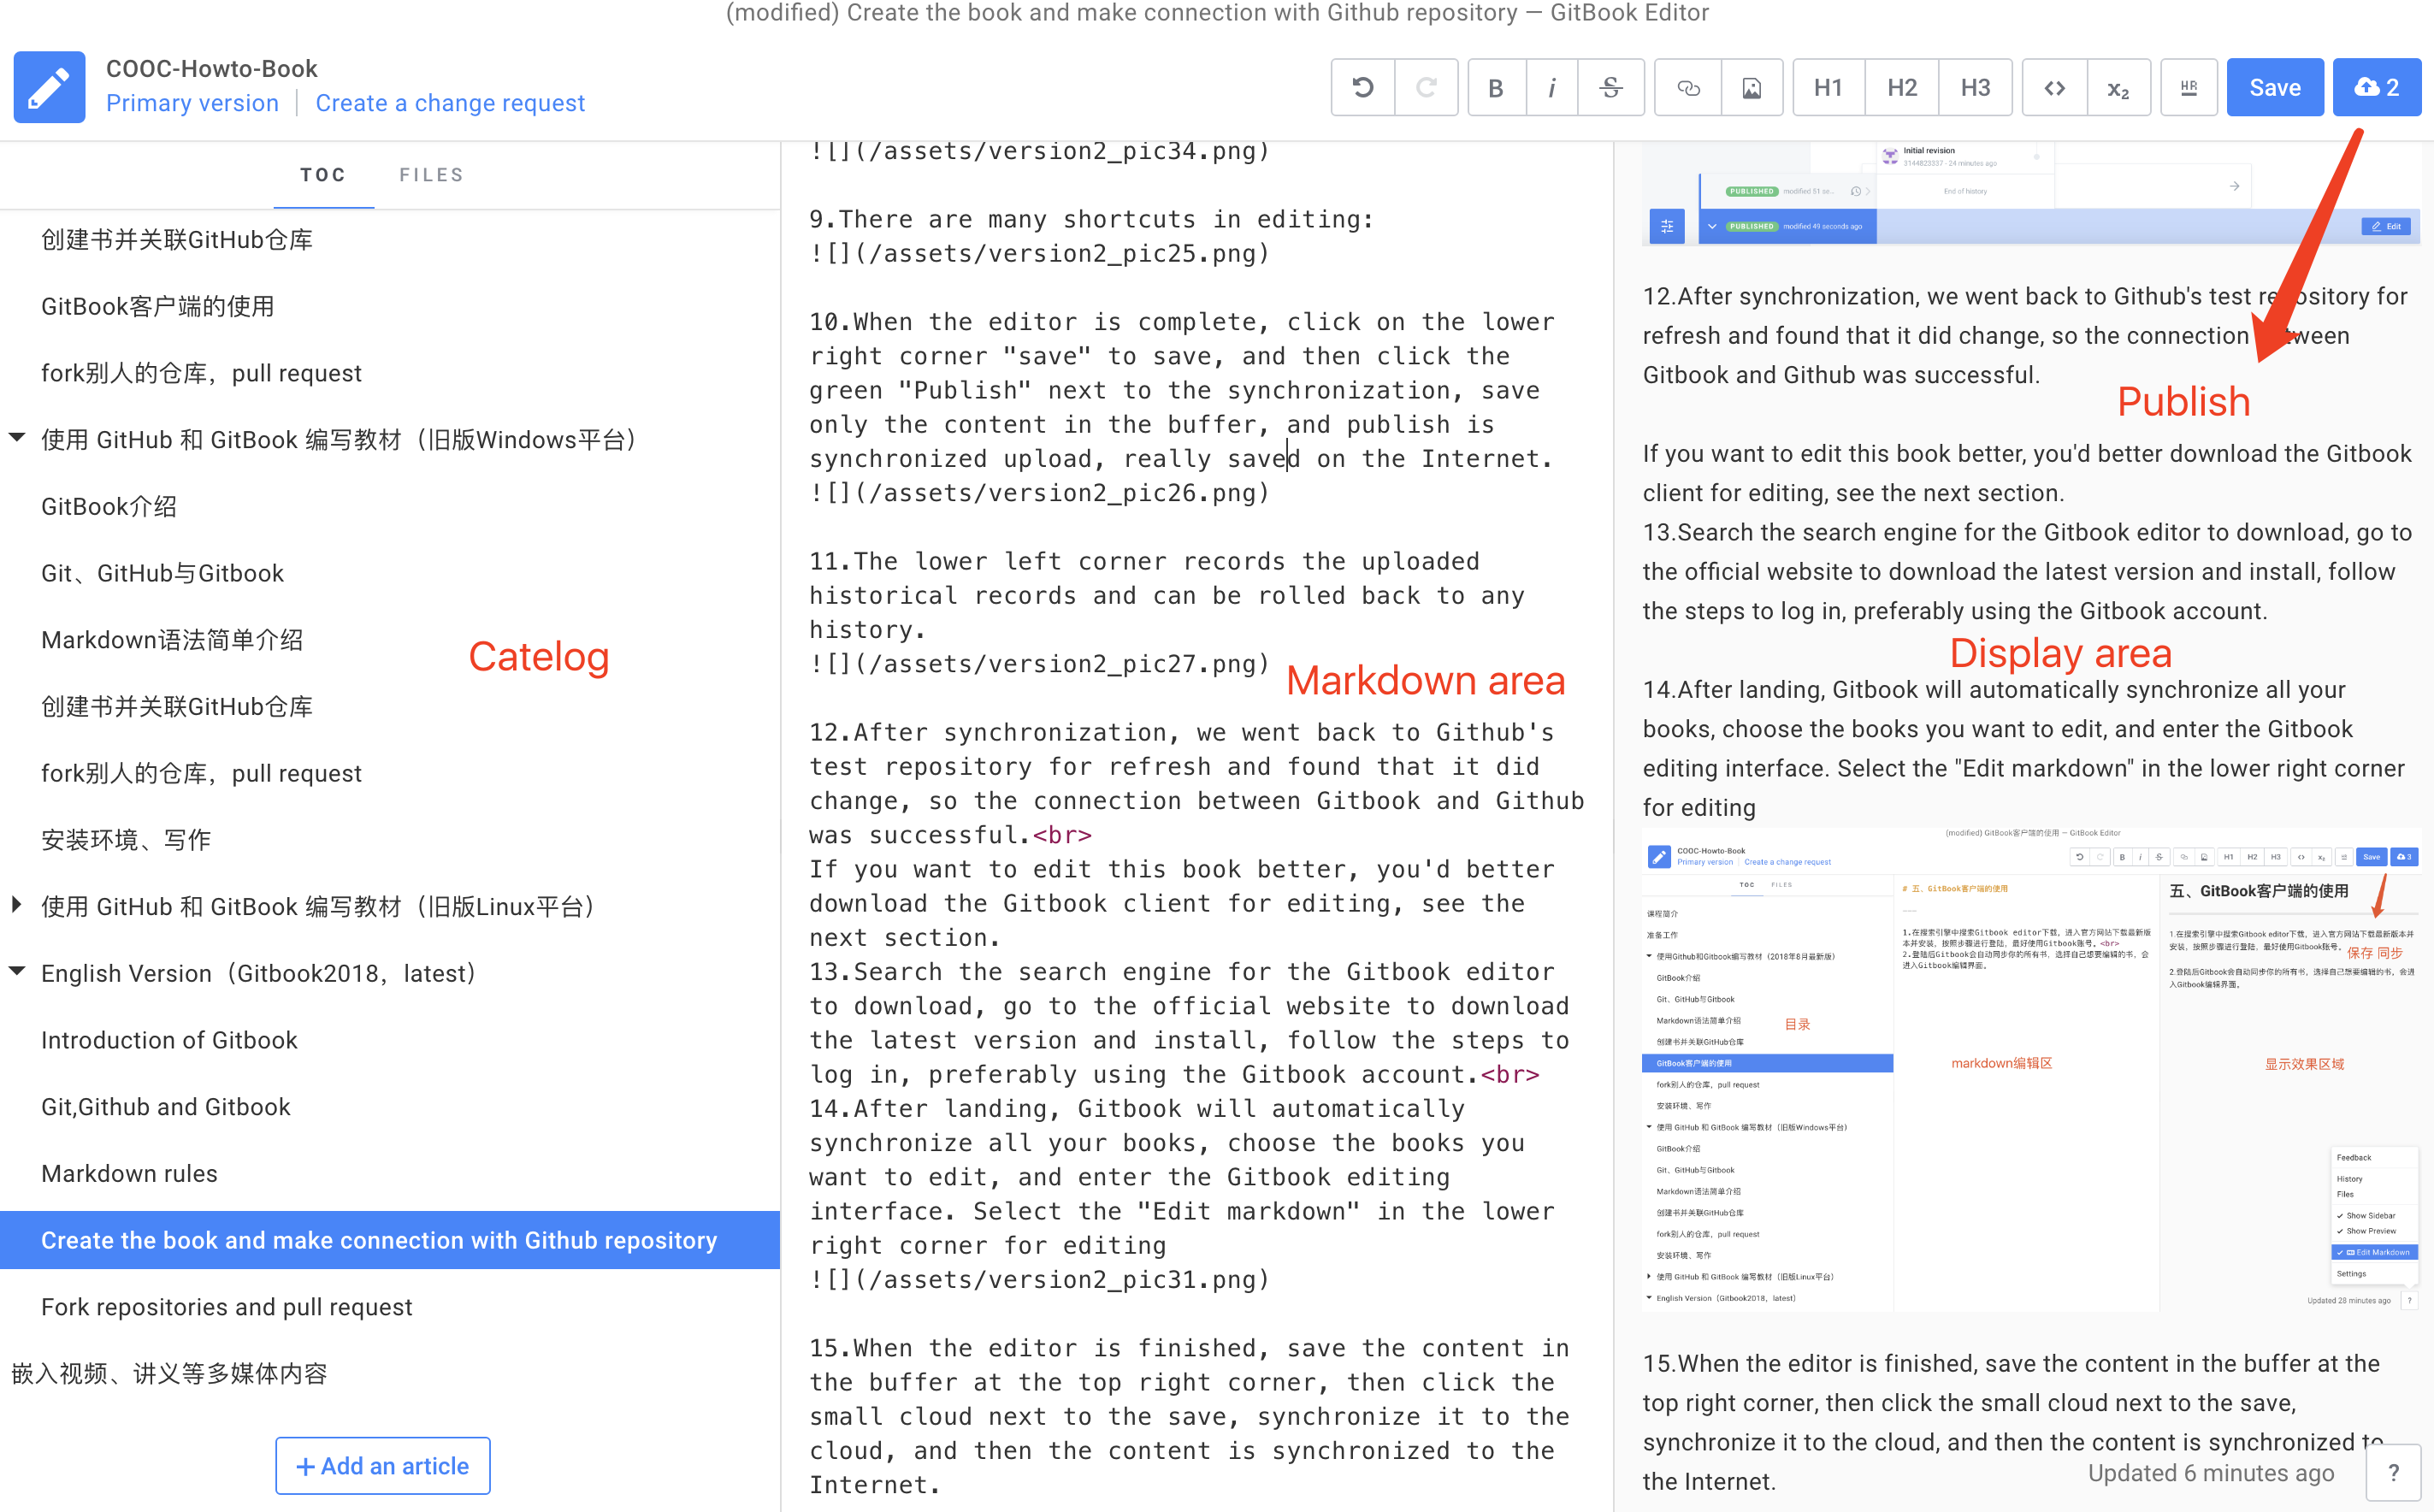
15.When the editor is finished, save the content in the buffer at the top right corner, then click the small cloud next to the save, synchronize it to the cloud, and then the content is synchronized to the Internet.